
Deploying Portainer on Azure using Azure Kubernetes Service is extremely easy. We are going to describe here how to have Portainer up and running in no time on Azure using AKS.
We've also posted a quick 7 minute 'how-to' video on our YouTube channel here.
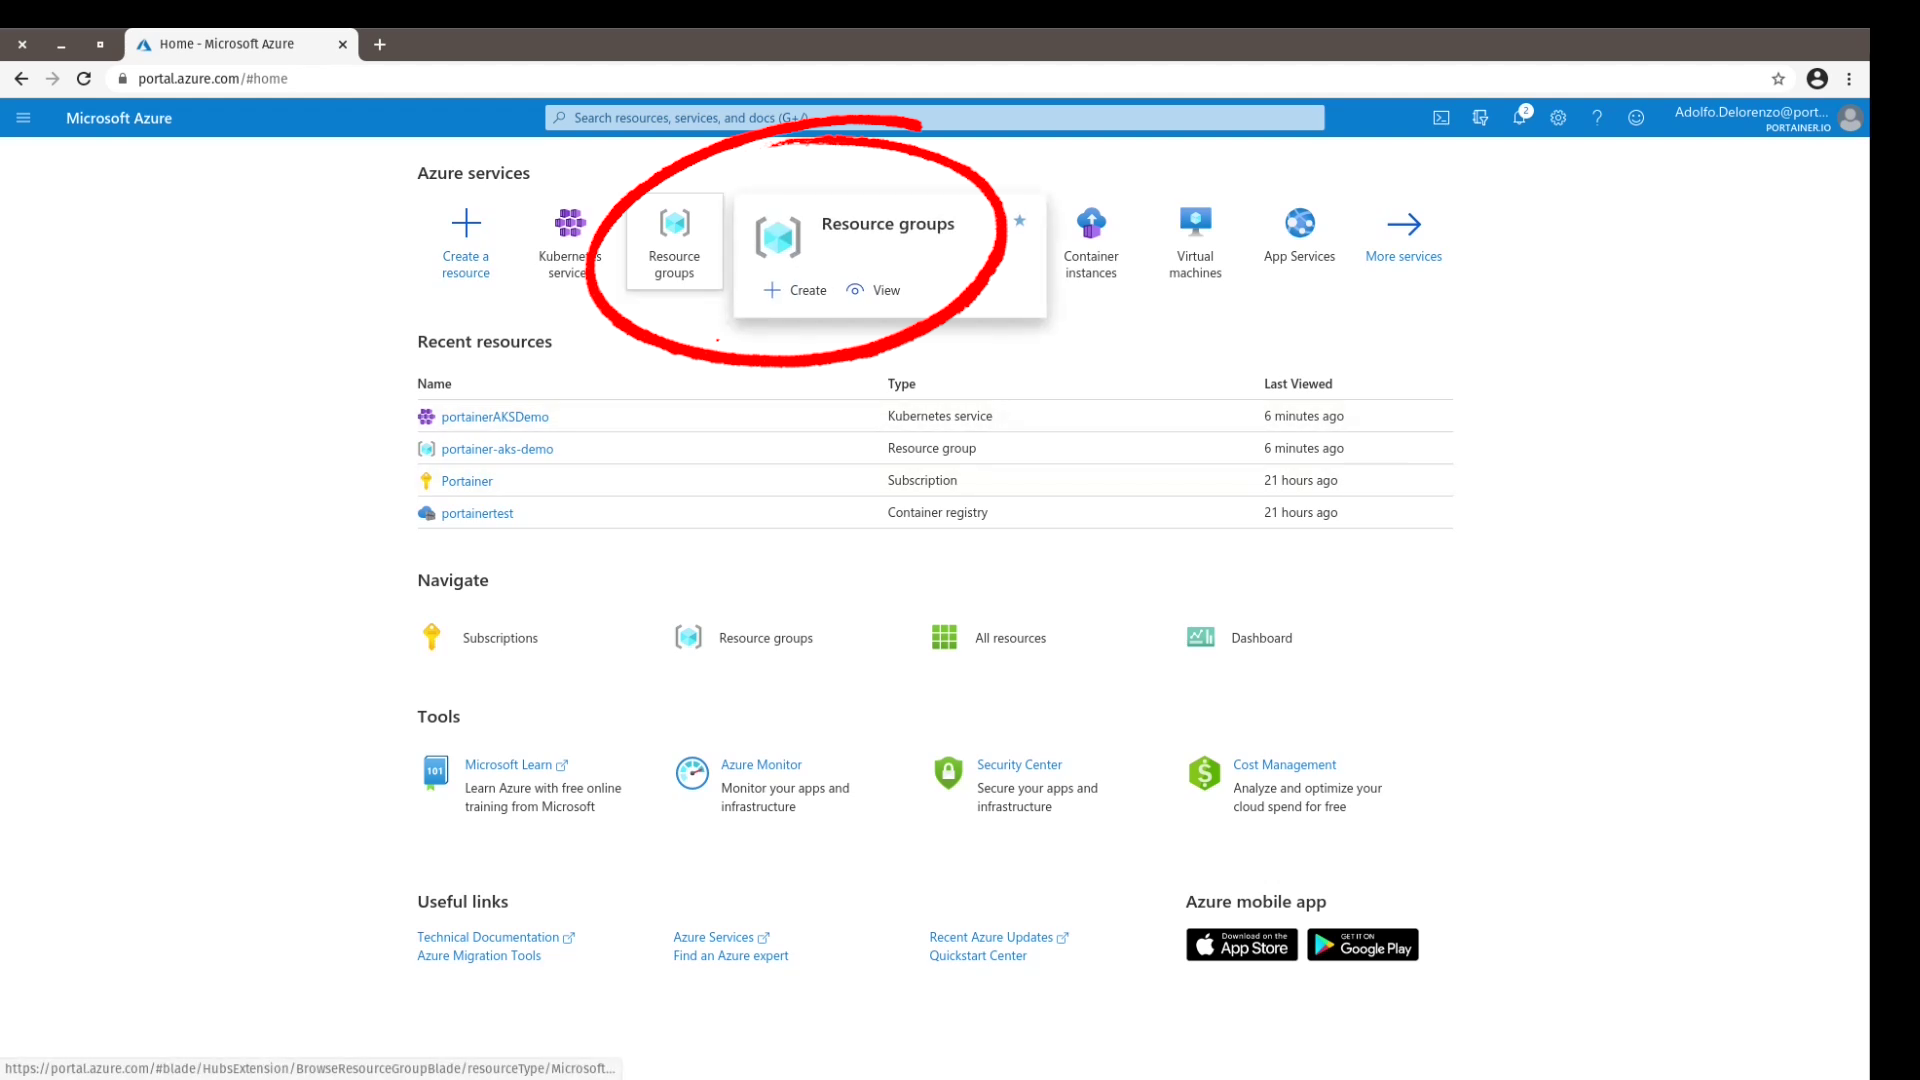
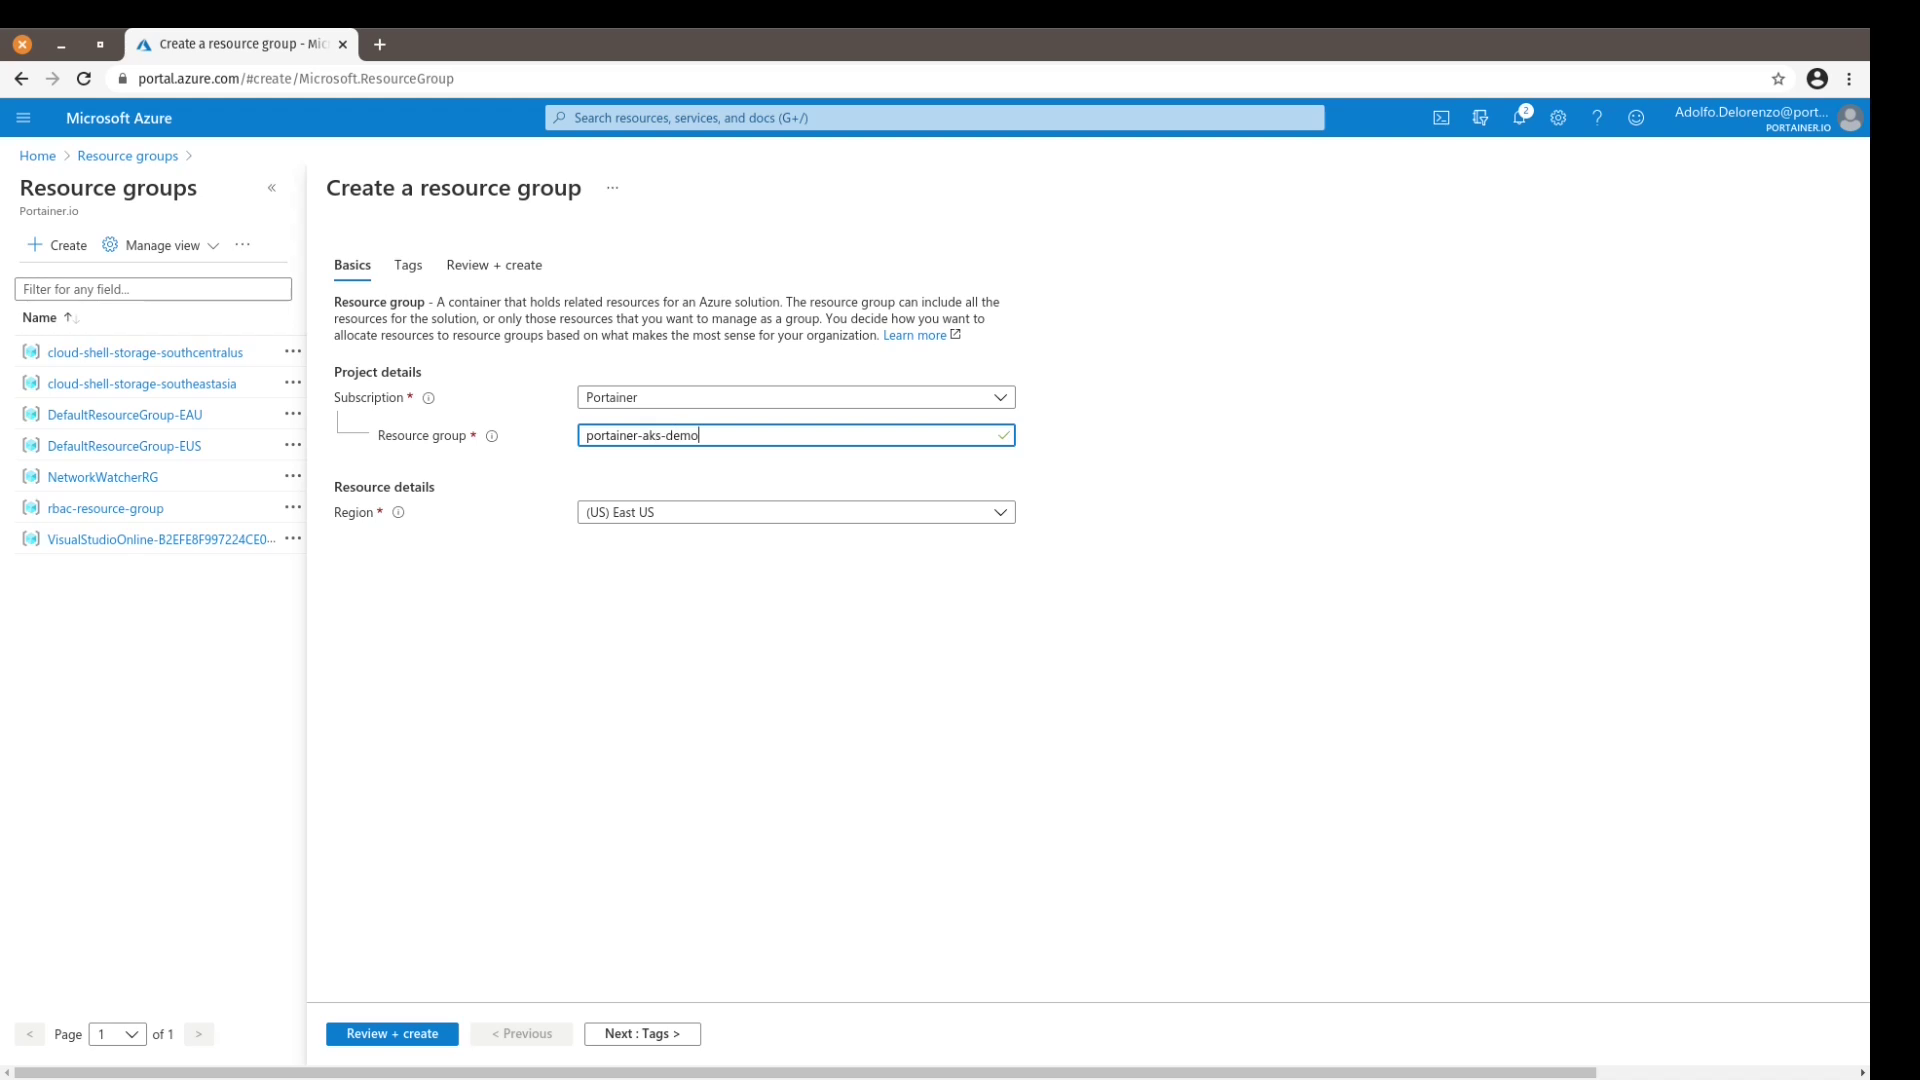
- Let's start by creating a Resource Group on the Azure Portal. For the purpose of this exercise I called the resource group portainer-aks-demo. Make sure to select the Region that best suits you. :
- Next step is to create a Kubernetes Cluster (you can type Azure Kubernetes Cluster on the search box if it's not visible on the home page of the portal):

I named my cluster portainerAKSDemo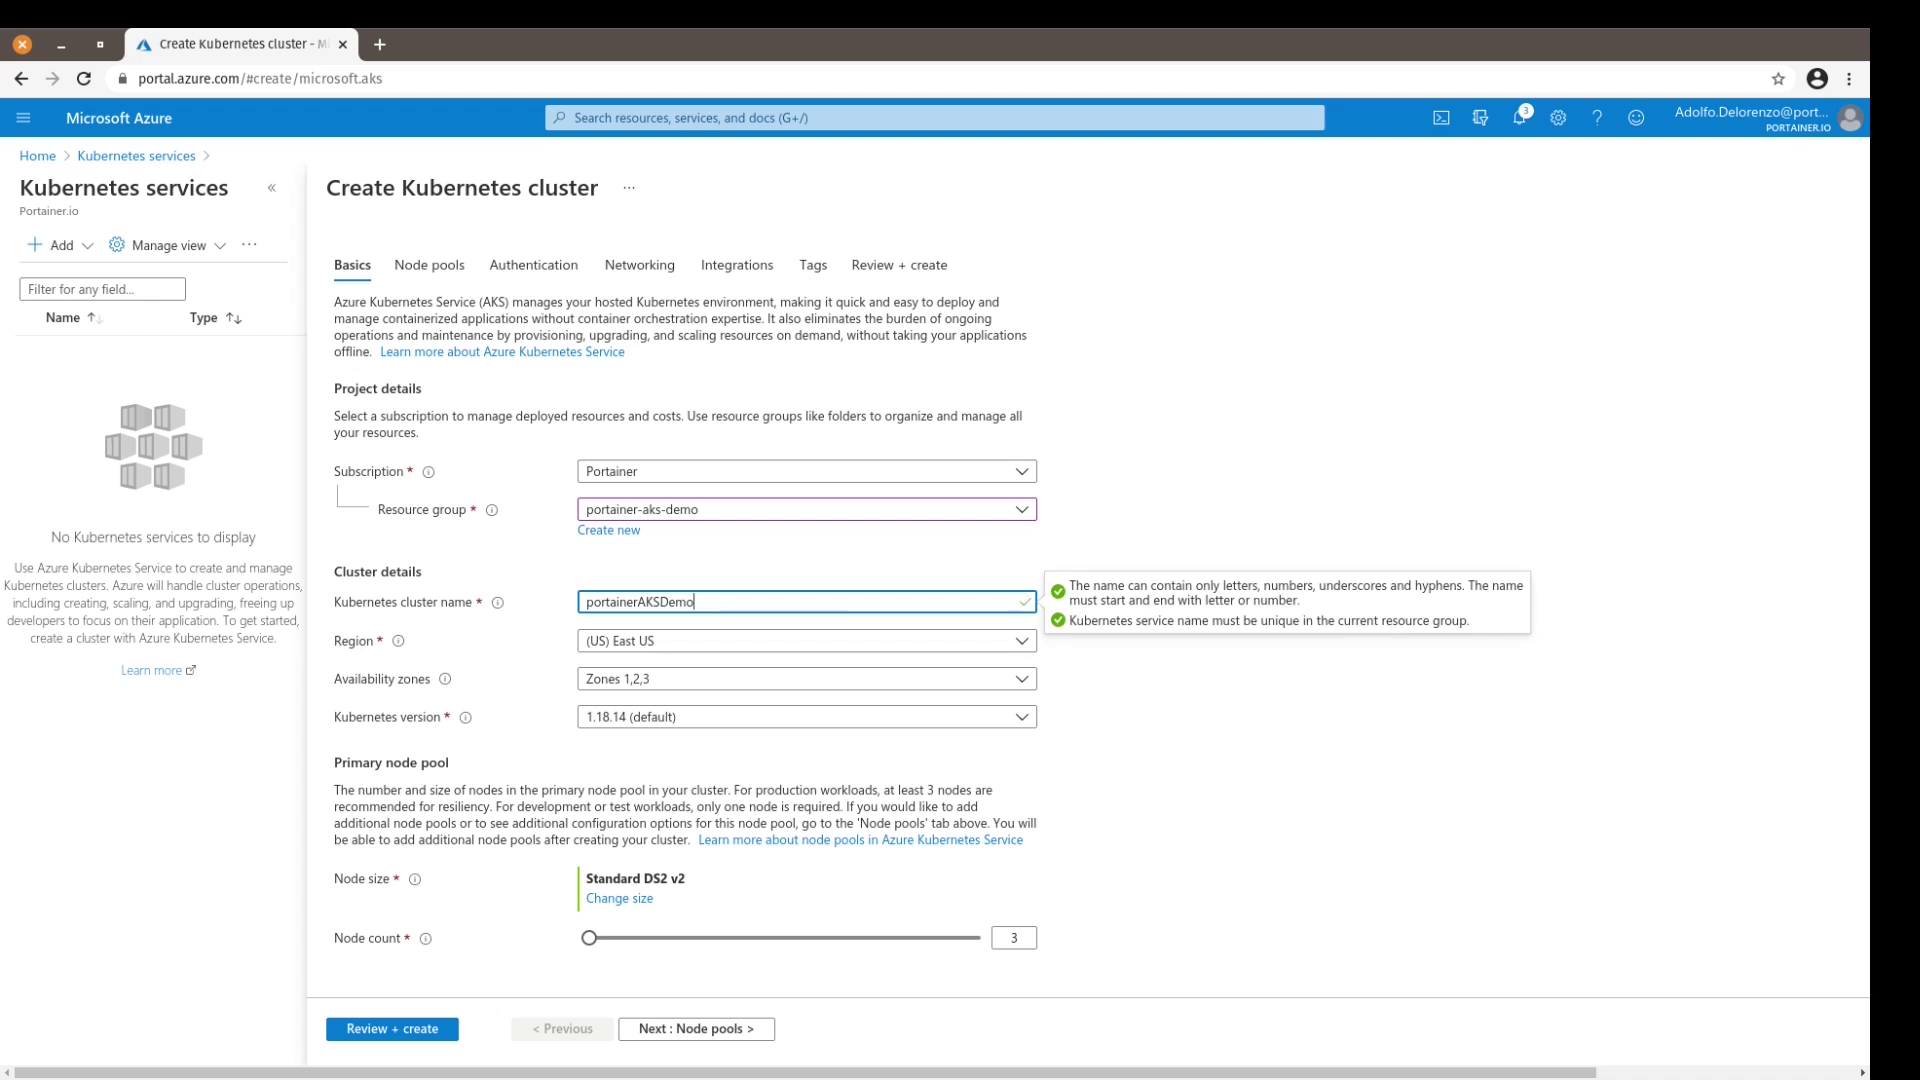
The default settings should be enough to create a AKS Cluster.The deployment of an AKS Cluster with these settings usually takes anything between 4 to 7 minutes. If all goes well the next screen you will see will be the following: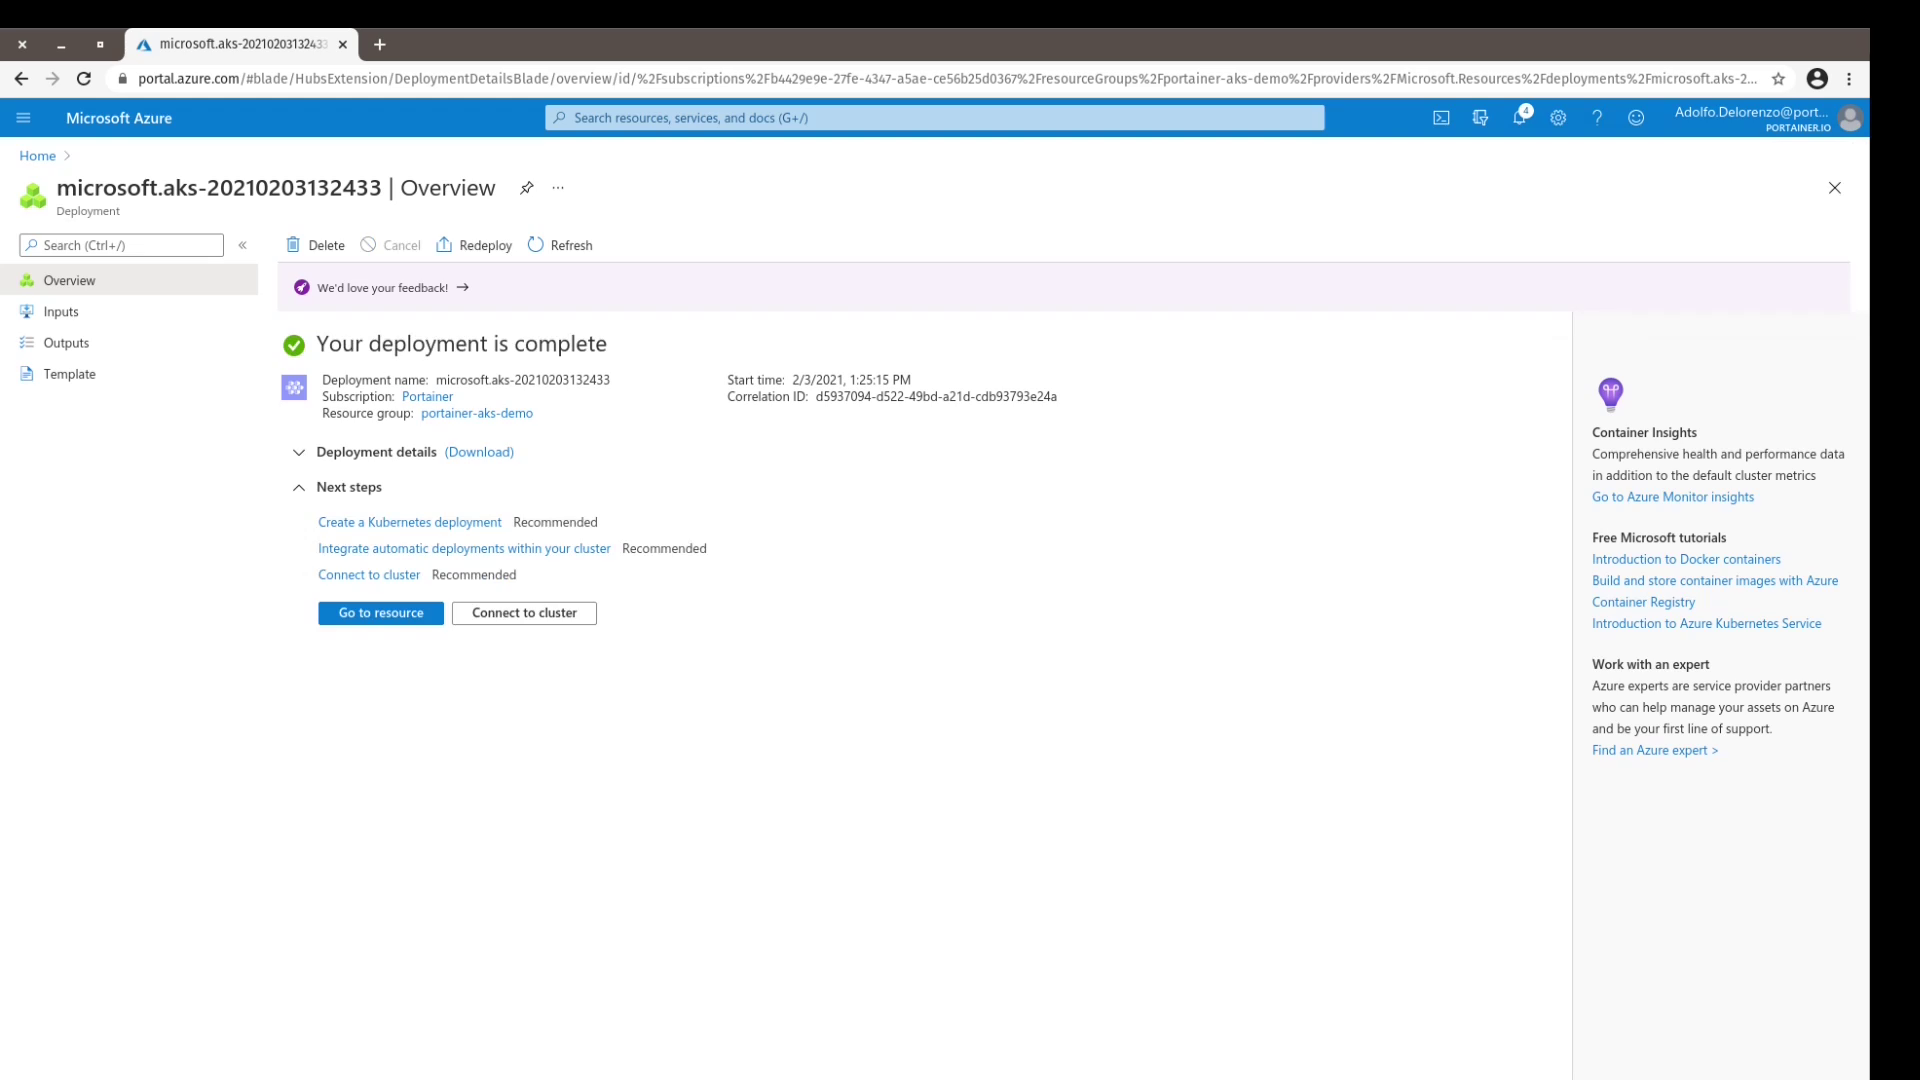
- Now we start deploying Portainer. Open the Cloud Shell on the Azure Portal by clicking the first icon from left-to-right on the top right hand side of the page:
You should see the Cloud Shell open on the bottom of the page. Make sure you select Bash as your Cloud Shell environment.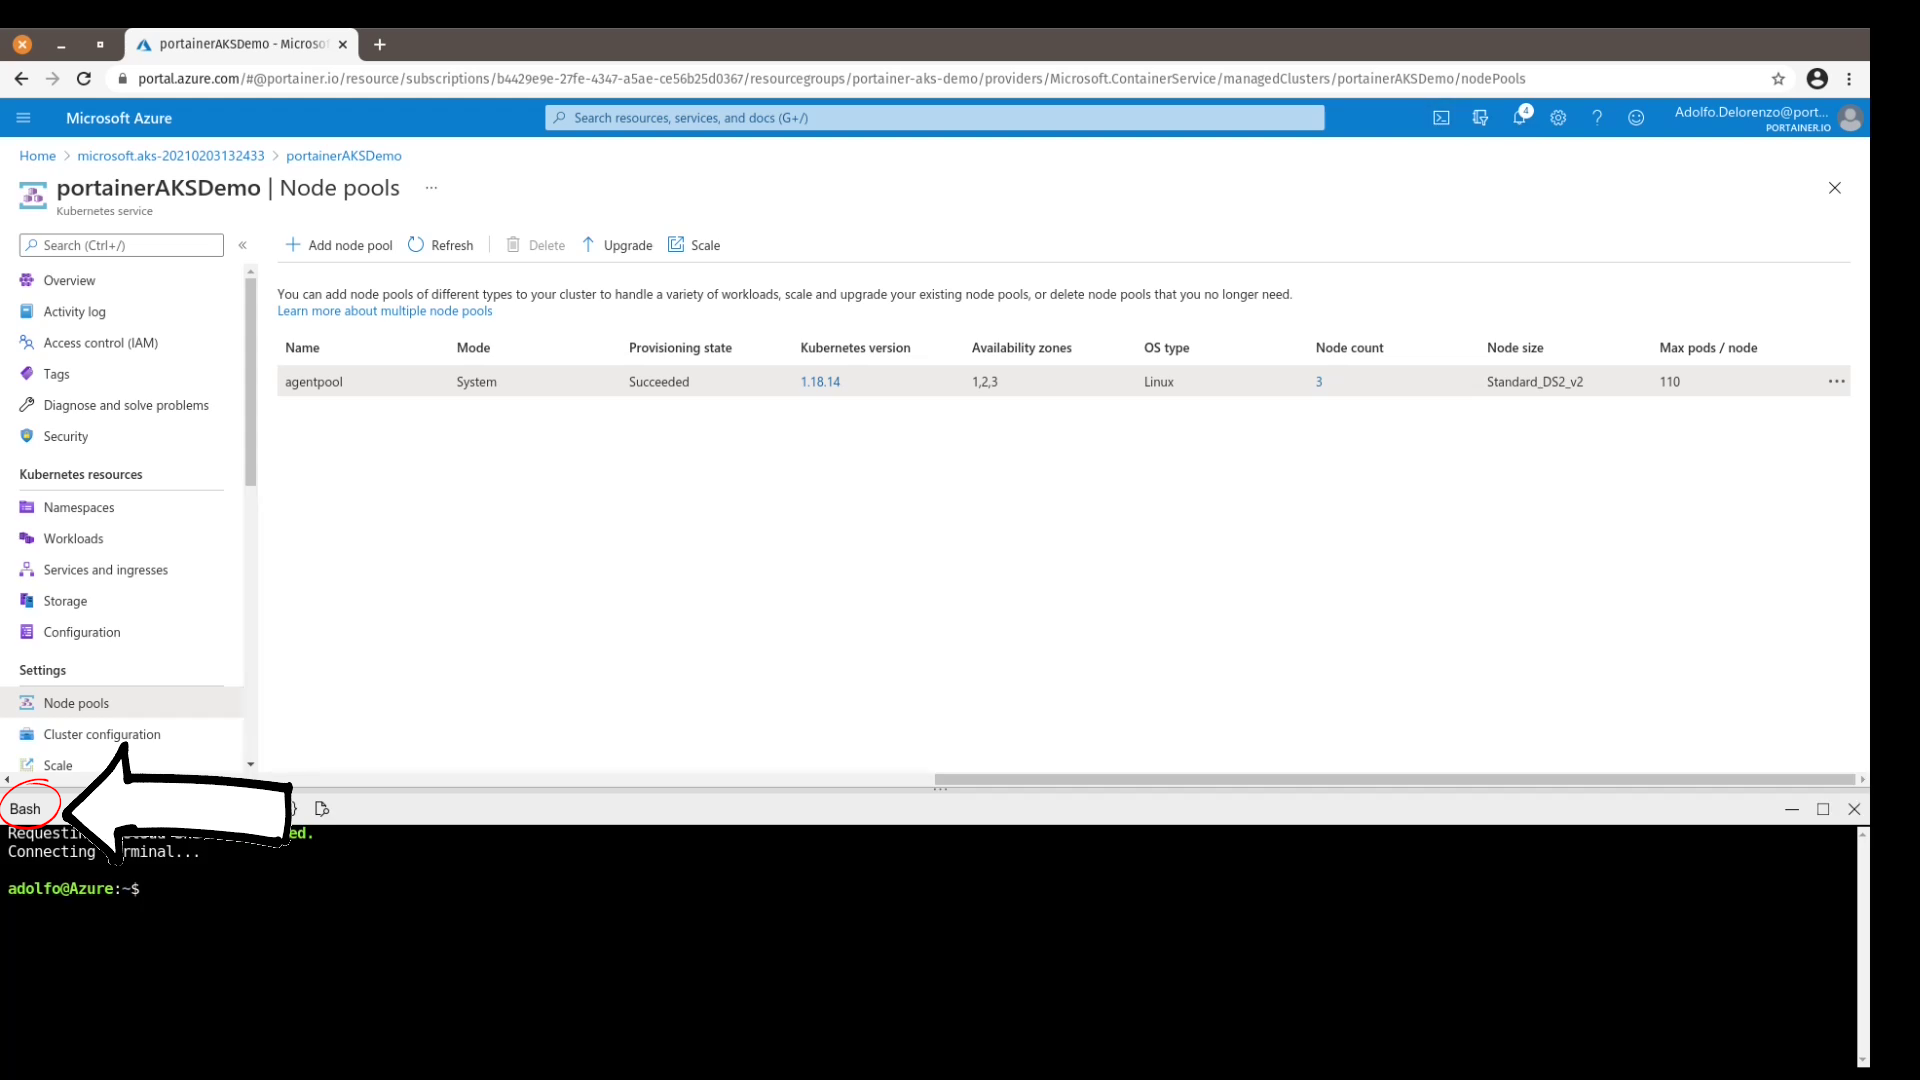
- Next step is to type a set of 5 commands in the following sequence:
az aks get-credentials --resource-group portainer-aks-demo --name portainerAKSDemo
helm repo add portainer https://portainer.github.io/k8s/
helm repo update
kubectl create namespace portainer
helm install -n portainer portainer portainer/portainer --set service.type=LoadBalancer
- The first command is used to download the cluster configuration and access credentials to be used by
kubectlthat we created earlier on step #2. - The second and third commands are used to add and update the Portainer repository with
helm - The forth command reserves a namespace called portainer
- And finally the last command installs Portainer
Once Portainer is installed helm you will see the following output:export SRVICE_IP=$(kubectl get svc --namespace portainer portainer --template "") echo http://SERVICE_IP:9000
Make sure you copy & paste these two lines on the Cloud Shell. The output will be the public ip address of where Portainer is running on the cluster.
- The first command is used to download the cluster configuration and access credentials to be used by
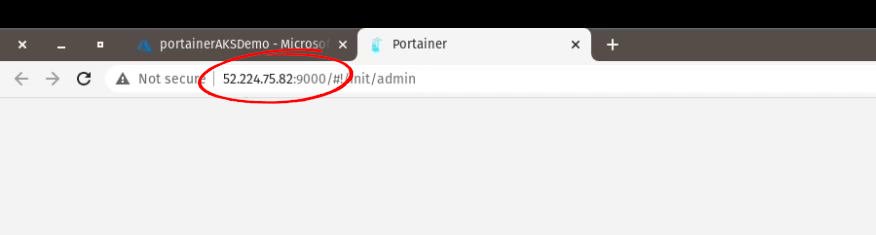
- Next step is to open a new tab or window of the web browser to access the Portainer UI. Make sure to add the port 9000 to the public ip address:
- The next three steps will finish our installation and configuration of Portainer
- Set the Administrator user of Portainer:

- Connect Portainer to the Kubernetes environment by clicking the Connect button. You will notice that Kubernetes is already pre-selected:

- Final third step of our configuration is to set basically 2 things:
- The Ingress Controller in order to manage external access of the applications running on your AKS cluster. For Azure the ingress class is
nginx: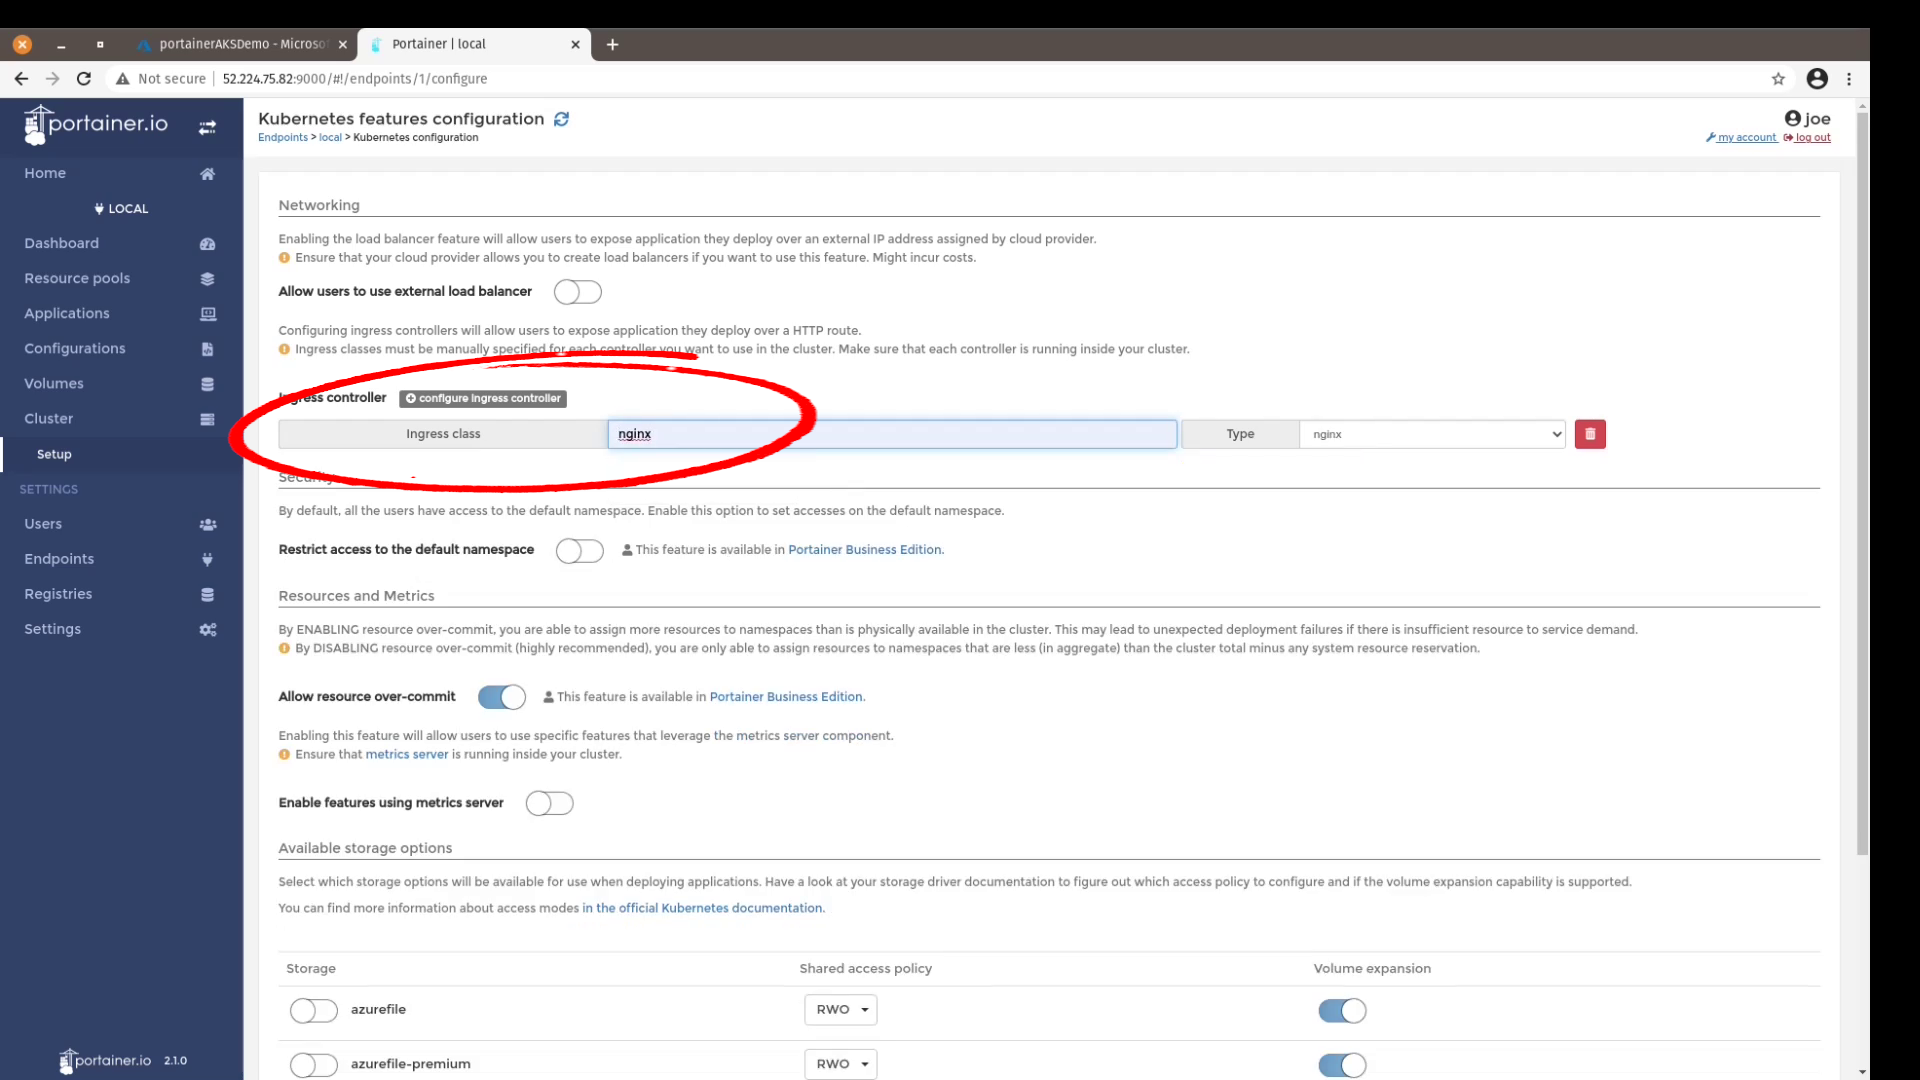
- And finally the last step is to select the persistent storage option provided by Azure:
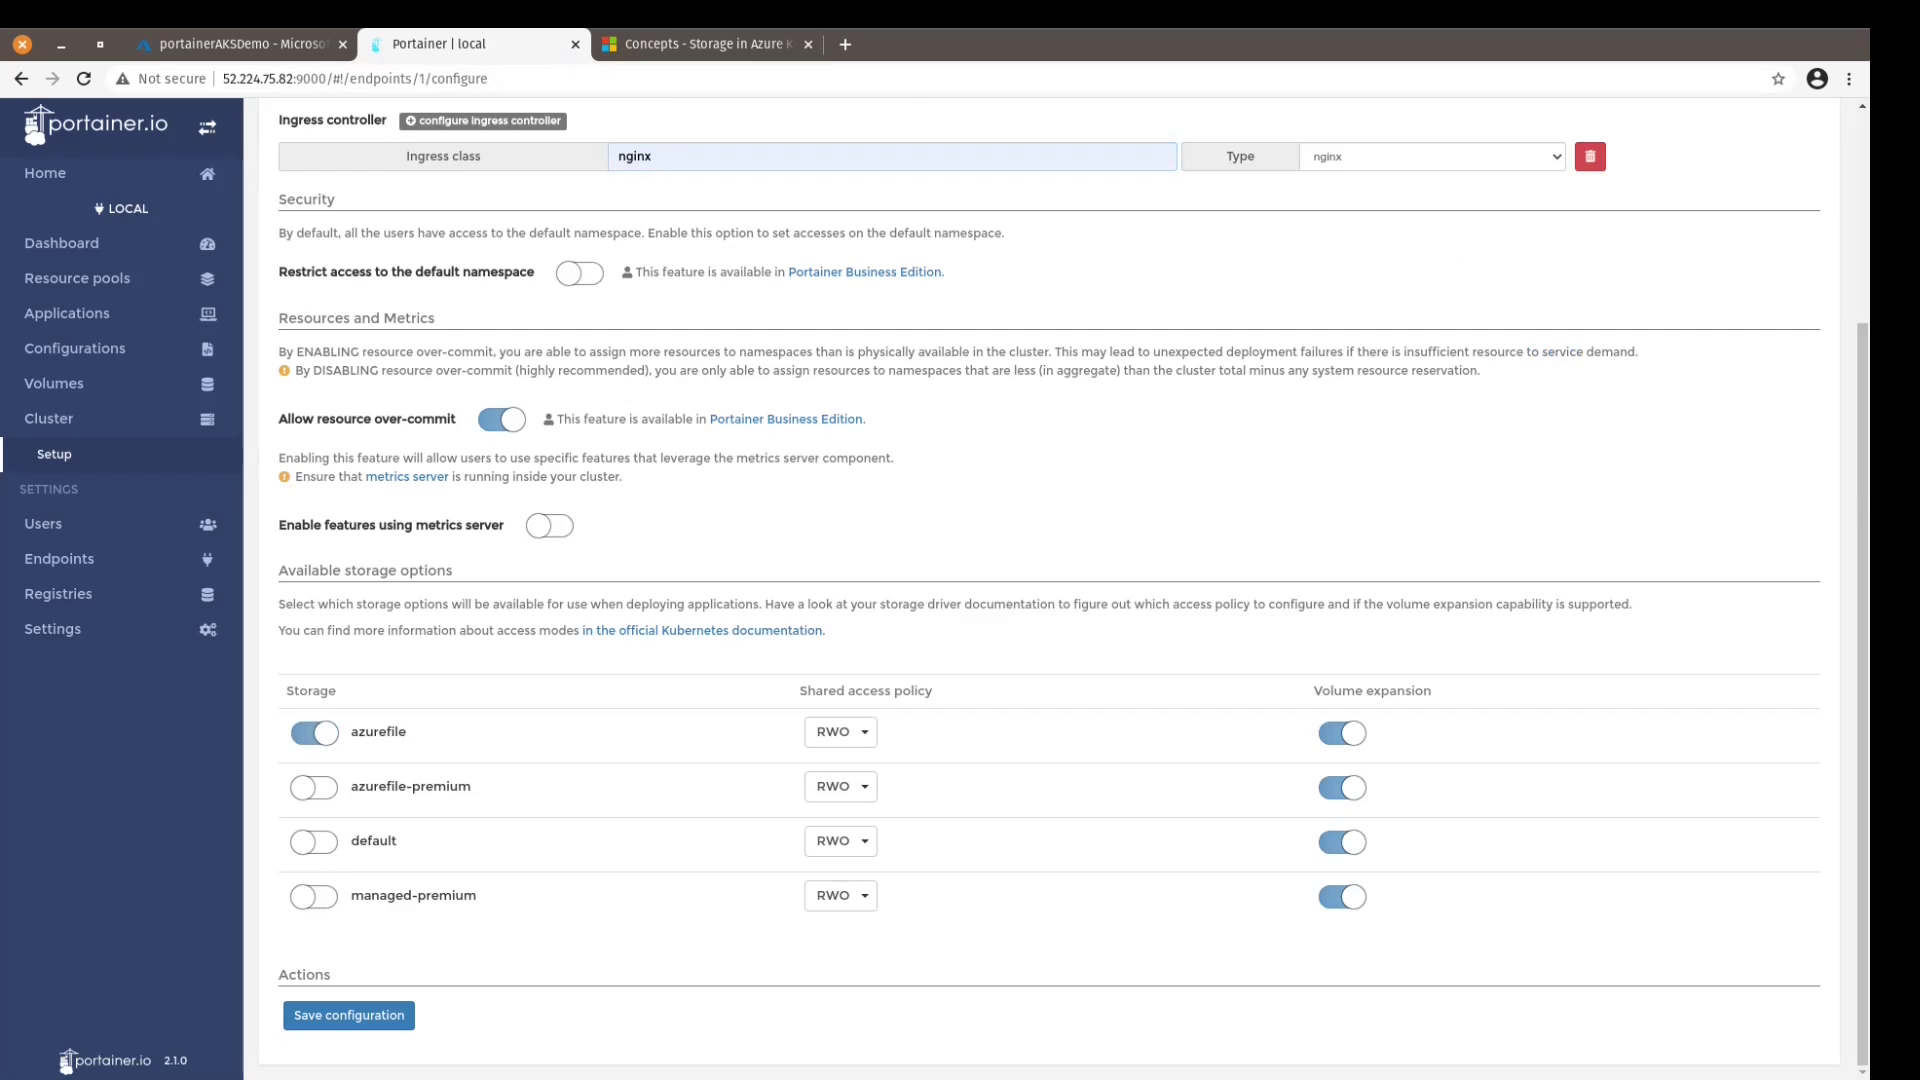
azurefileshould be ok but if you have more specific use-cases please visit the Microsoft Azure documentation website here for a detailed explanation of what each storage classes provides. You can now finish the configuration of Portainer by clicking the Save configuration button.
- The Ingress Controller in order to manage external access of the applications running on your AKS cluster. For Azure the ingress class is
- Set the Administrator user of Portainer:
You can now navigate to the cluster setup by clicking on the Endpoint of your cluster, then clicking on Cluster on the left hand side menu: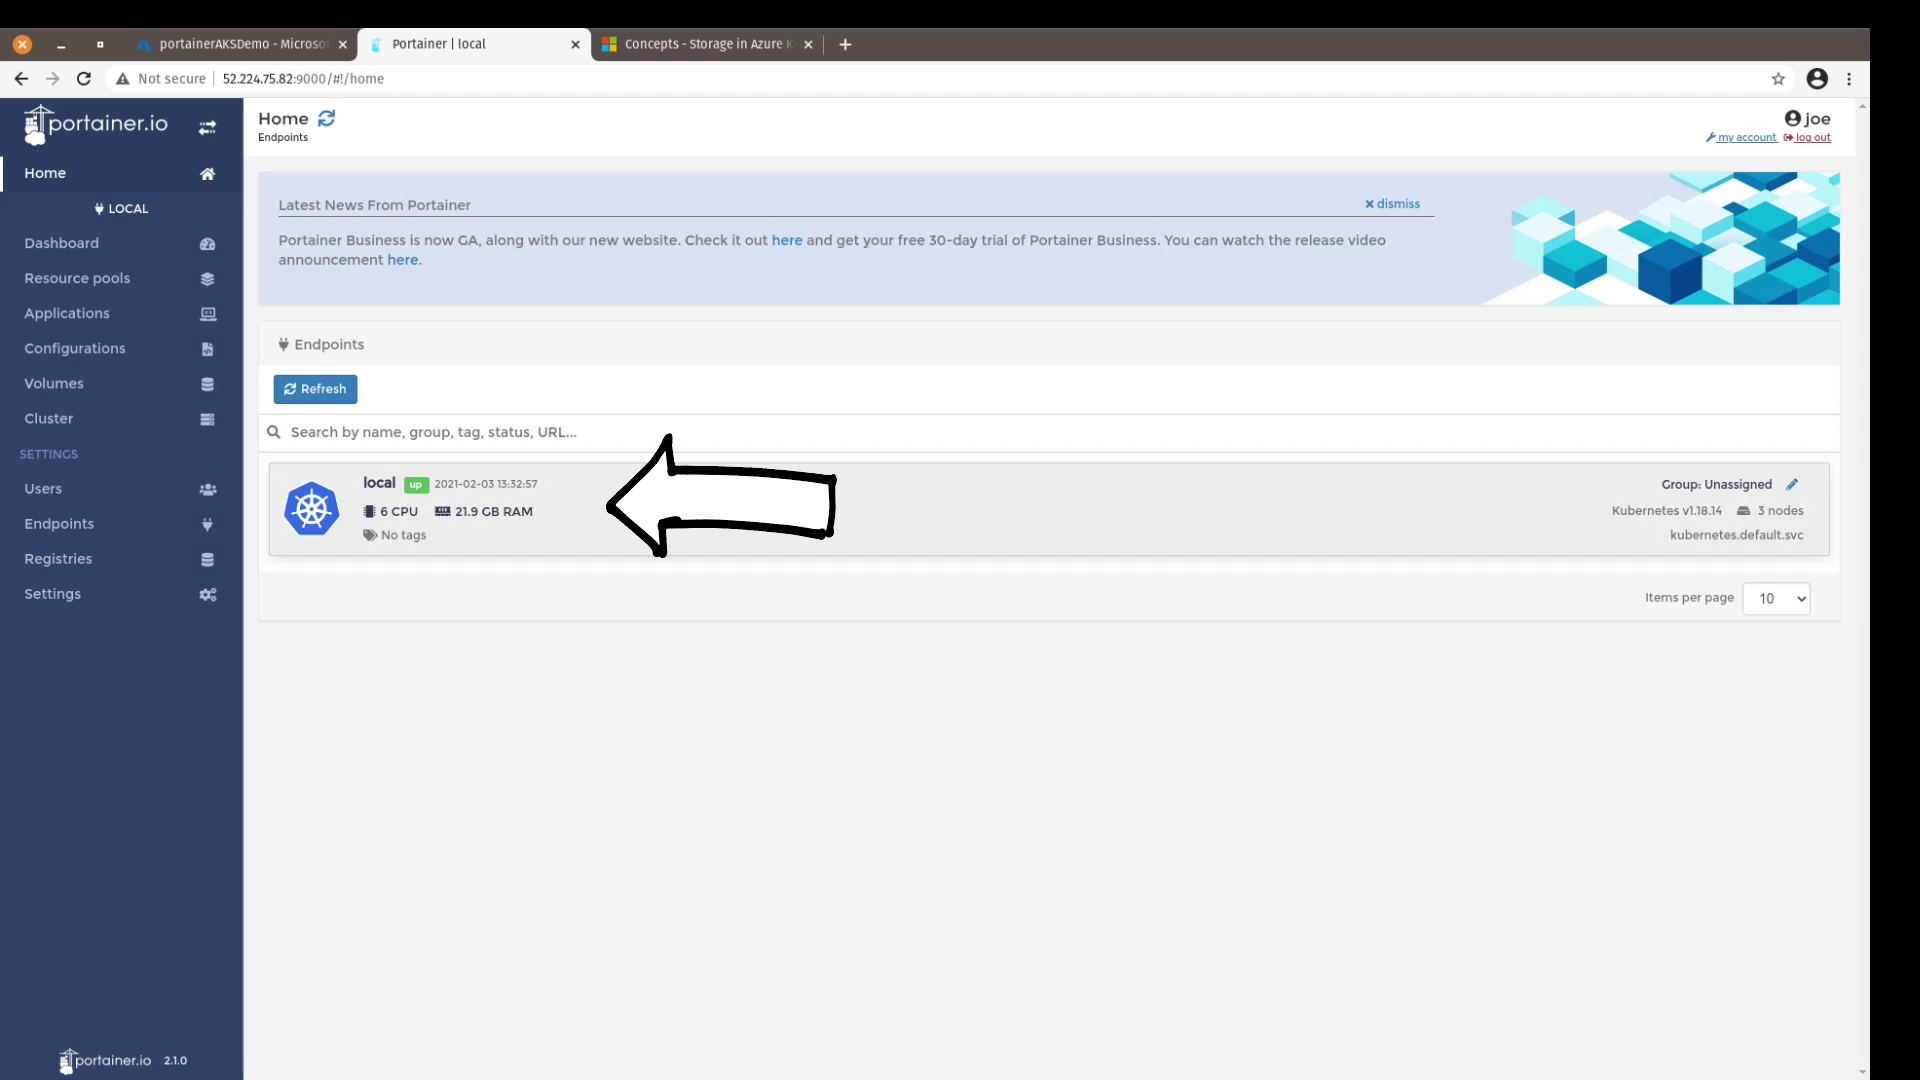
You can see here the nodes that are running on your Azure subscription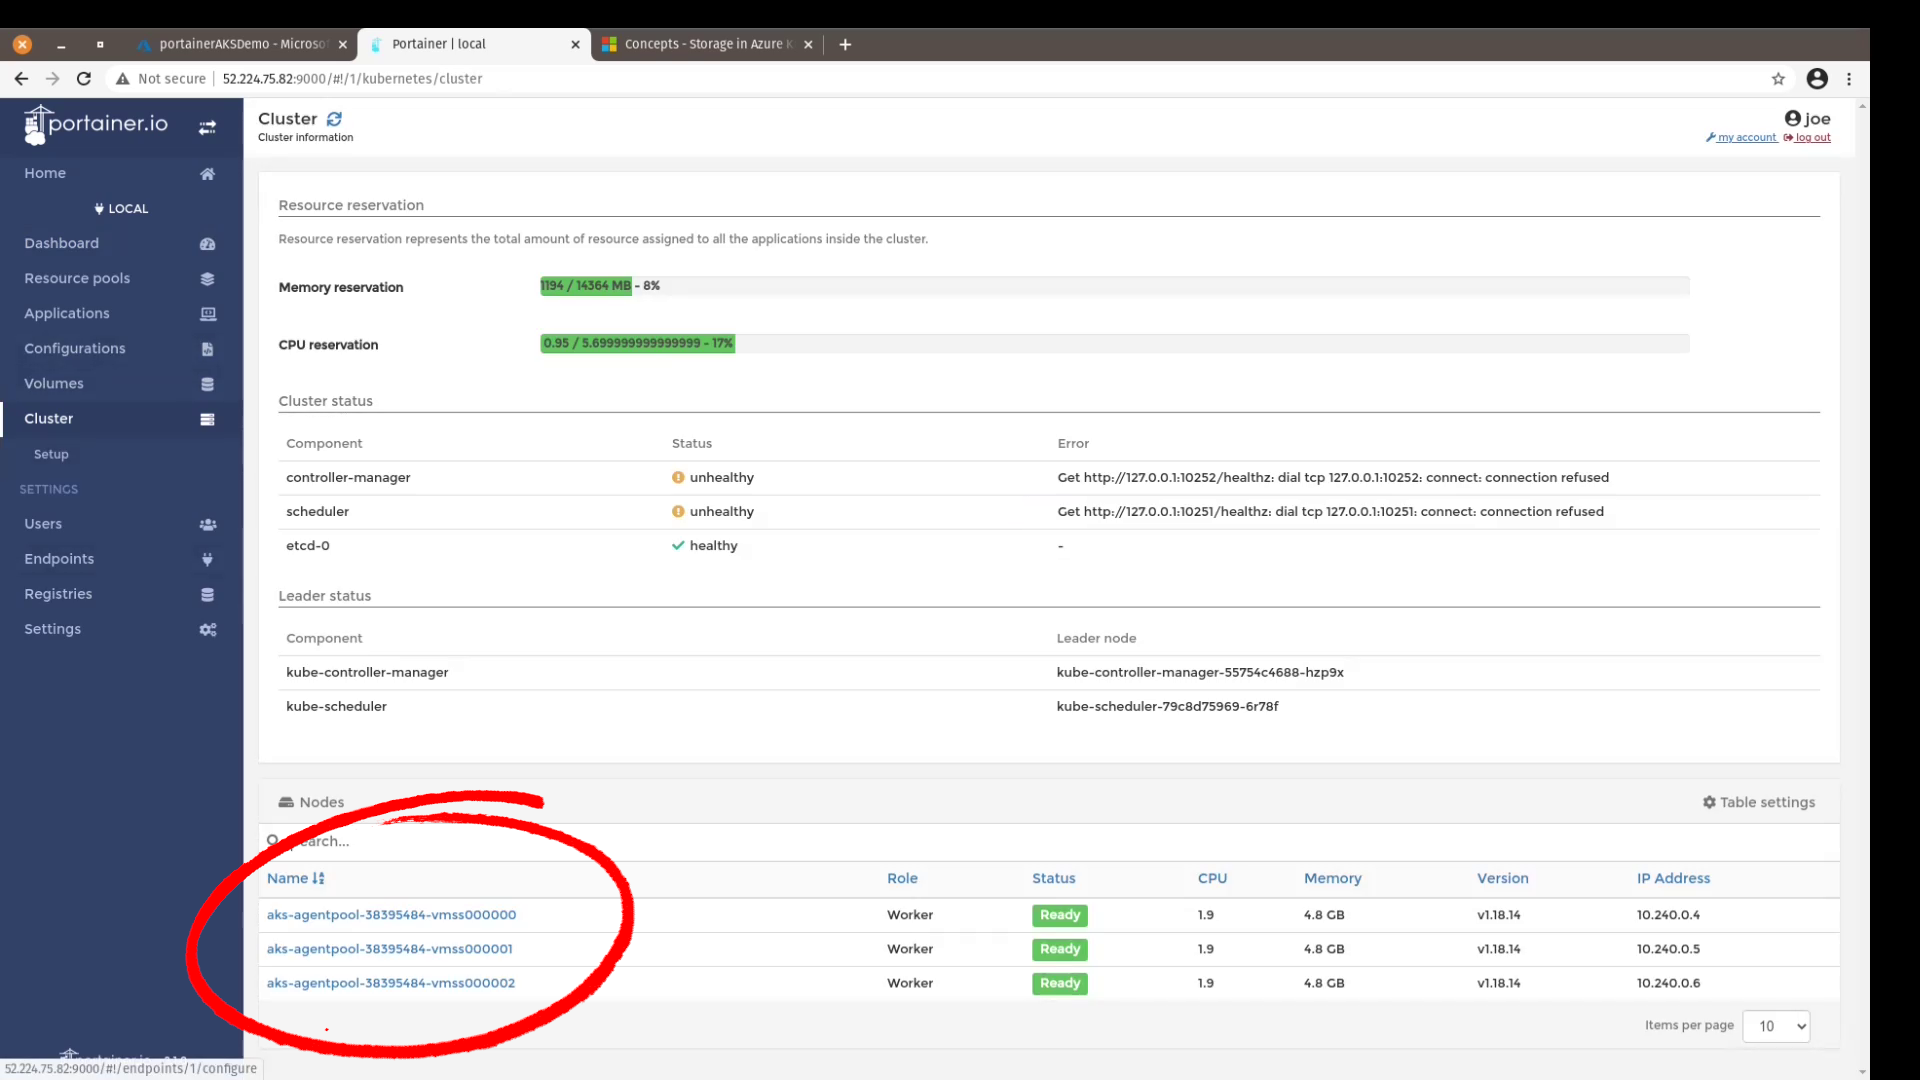

COMMENTS