Share this post
Your infrastructure rarely breaks all at once. More workloads get deployed, environments multiply, and suddenly a single Kubernetes cluster becomes a bottleneck. Kubernetes multi-cluster management gives you a scalable way to operate, secure, and standardise workloads across every environment.
In this guide, we will explain what Kubernetes multi-cluster management is, when you need it, and the architecture patterns teams use for multi-cluster deployments. We will also compare the leading multi-cluster tools and walk you through a step-by-step process to set up your own multi-cluster environment.
What is Kubernetes Multi-Cluster Management?
Kubernetes multi-cluster management lets you run, monitor, and secure multiple clusters through one central layer.
Instead of managing each cluster independently, platform and DevOps teams use this layer to enforce consistent policies, role-based access controls, configuration standards, and automated deployments across all environments.
This creates stronger workload isolation, predictable performance, and gives organisations a stable way to scale their Kubernetes footprint without added operational overhead.
Benefits of Multi-Cluster Management
There are several benefits of multi-cluster management. Here are the most important ones:
- Centralised control for distributed environments: A management layer provides platform teams with a single place to apply policies, RBAC, and configuration standards across all clusters, rather than handling each cluster separately.
- Better resource alignment: Different clusters can use different hardware profiles, cloud regions, or scaling patterns, allowing organisations to match resources to workload needs more accurately.
- More transparent governance and access control: Policies and permissions can be defined once and enforced everywhere. This keeps governance and policy consistent across clusters while still giving teams room to move quickly.
Challenges of Managing Multiple Clusters
Multi-cluster environments solve several problems, but they also introduce new operational challenges in Kubernetes management:
- Growing operational complexity: Every cluster has its own control plane and maintenance needs, making Kubernetes lifecycle management increasingly harder to sustain as more clusters are added.
- Increased risk of configuration drift: Clusters are often updated at different times or by different teams. Over time, small mismatches compound and create unpredictable behaviour that is difficult to diagnose and fix at scale.
- Harder cross-cluster networking and connectivity: Applications running across regions, clouds, or on-prem systems still need to communicate reliably. Misconfigured routing, DNS, or service discovery can introduce latency or completely break communication.
Multi-Cluster Kubernetes Architecture Patterns
There’s no single “correct” way to run multiple Kubernetes clusters. The right architecture depends on how your organisation structures workloads, scales applications, and defines boundaries between teams or environments. Below are four proven patterns commonly used in real-world multi-cluster deployments.
1. Application-Centric Architecture
In an application-centric model, applications drive the deployment strategy. Each app determines where it runs, and clusters act as interchangeable execution environments.
Suitable for: Teams that deploy globally, release frequent updates, and want flexible placement without tightly coupling apps to a single environment.
Trade-off: This approach requires strong deployment automation, clear traffic-routing rules, and consistent configuration standards to prevent fragmentation as the number of clusters grows.
2. Cluster-Centric Architecture
Cluster-centric Kubernetes architecture treats clusters (not applications) as the primary building block. Each cluster has a defined purpose, baseline configuration, and governance model, and applications are deployed into those predefined environments.
Suitable for: Organisations with strict compliance zones, regional boundaries, or large platform teams that want predictable, tightly governed infrastructure.
Trade-off: It reduces flexibility. Workloads must adapt to the cluster’s constraints, and cross-cluster portability becomes harder if configurations drift over time.
3. Replicated Architecture
In a replicated setup, each cluster is an identical copy (same configuration, same services, same deployment model), usually spread across multiple regions to improve latency, resilience, or failover.
Suitable for: Businesses operating globally or those that need consistent user experiences across regions, as well as teams that prioritise high availability and fault isolation.
Trade-off: Operating many identical clusters increases maintenance overhead. Every upgrade, policy, or config change must be applied in multiple places, which requires strong automation to avoid drift.
4. Split-by-Service Architecture
In this pattern, clusters are separated by service type or function (e.g., frontend, backend, data processing, ML workloads, or internal vs. customer-facing services). Each cluster is optimised for the type of workload it runs.
Suitable for: Teams with diverse workloads that have different performance, compliance, or scaling requirements.
Trade-off: Cross-service communication becomes more complex. Ensuring reliable, low-latency connectivity between clusters requires careful traffic management and, often, a service mesh to maintain consistency.
Advantages of Running Multiple Clusters
Running multiple Kubernetes clusters has several advantages. Here are some of the most meaningful ones:
Scalability
A multi-cluster setup gives organisations the freedom to scale workloads without stretching a single control plane to its limit. Each cluster can grow on its own timeline and use whatever hardware, region, or cloud provider makes sense for its workload.
This avoids the bottlenecks that come with running one oversized cluster and makes it easier to handle seasonal traffic or sudden load spikes. It also keeps resource planning predictable as demand rises, all without disrupting anything already in production.
Performance
Since workloads don’t compete within a single environment, multi-cluster Kubernetes improves overall performance. Teams can run latency-sensitive services in regions closest to users, run intensive processing on dedicated clusters, and route traffic through the fastest available path. This eliminates unnecessary network hops and maintains consistent performance across all clusters.
Isolation of workloads
Running multiple clusters gives teams natural separation between applications, tenants, and environments. Instead of packing everything into a single control plane, each cluster acts as its own boundary with dedicated nodes, policies, and API limits.
This limits the blast radius when something breaks, helps meet strict compliance requirements, and gives teams the freedom to evolve their environments independently without risking unintended changes elsewhere.
Reliability
A multi-cluster setup increases the reliability of your applications by removing the dependency on a single control plane.
If one cluster goes down, whether due to a regional failure, network issue, or a cloud provider incident, your workloads can continue running on another cluster with minimal disruption.
Teams can also distribute replicas across regions to guard against localized failures and maintain steady availability, so applications stay accessible even when parts of the infrastructure are offline.
Security
The security posture of your Kubernetes environments improves when workloads are spread across multiple clusters. Each cluster becomes its own trust zone with dedicated access controls, network policies, and isolation boundaries.
Sensitive workloads can run in tightly restricted environments, while lower-risk applications use lighter controls without affecting critical systems. This separation limits the impact of attacks or configuration errors and makes it easier to meet data-isolation and compliance requirements such as SOC 2, ISO 27001, and HIPAA.
Overcoming Common Multi-Cluster Challenges
Running multiple Kubernetes clusters doesn’t come without its challenges. Here’s how organisations can address the most common issues teams face in multi-cluster environments.
Complexity
Managing several clusters means more moving parts, more decisions, and more opportunities for environments to drift apart. Teams have to coordinate upgrades, policies, add-ons, and lifecycle tasks across every cluster, which quickly becomes unmanageable without a consistent operating model.
How to overcome this challenge: The most effective way to reduce operational complexity is to centralise governance, automate routine cluster work, and use standardised templates or GitOps workflows to keep every environment aligned.
Cost
Unsurprisingly, running multiple clusters isn’t cheap and will naturally increase your overall cloud and infrastructure costs. Each cluster has its own compute nodes, storage, networking, and IP allocation costs, and without clear ownership or scaling rules, organisations often overprovision resources or keep clusters running longer than needed.
In fact, industry analyses show that over 65% of Kubernetes workloads consume less than half of the CPU and memory they request, highlighting how easily costs can balloon when no standardised sizing model is in place.
How to overcome this challenge: Start by defining cost boundaries for each team or environment, enforce autoscaling policies at the cluster level, and, most importantly, regularly audit resource usage. Standardising cluster sizing and using cost-visibility tools also helps prevent waste before it grows.
Cluster Sprawl and Management Overhead
As teams add more clusters for new regions, projects, or environments, the infrastructure footprint grows faster than expected. This “cluster sprawl” makes it hard to track what exists, who owns it, and whether each cluster is still necessary.
The operational overhead of maintaining unused or lightly used clusters builds up quickly and slows down day-to-day work.
How to overcome this challenge: Create clear ownership rules for every cluster, establish a lifecycle policy for creation and retirement, and maintain an up-to-date inventory. A central management layer also helps teams enforce standards and keep sprawl under control.
Networking and connectivity
Connecting services across clusters naturally introduces networking challenges. Traffic has to move reliably between regions, clouds, or on-prem hosts, and even small misconfigurations can break inter-cluster communication, service discovery, routing rules, or load balancing.
Ensuring every cluster communicates securely and consistently also becomes harder as the environment grows.
How to overcome this challenge: Use a service mesh or cross-cluster networking layer to simplify routing, standardise how services communicate, and enforce consistent security policies. Clear traffic rules, predictable DNS patterns, and regular connectivity checks also help avoid surprises at runtime.
Multi-Cluster Management Tools To Help: Choosing the Right Platform
Managing multiple clusters can be overwhelming, but it doesn’t have to be. With the right platform, you can centralise visibility, reduce manual work, and keep every environment aligned, all without adding unnecessary complexity.
Here are the main types of tools (and standout options in each category) that help teams manage multi-cluster environments more effectively:
Unified Management Platforms
As the name suggests, unified management platforms bring multiple clusters together under one control layer. They simplify operations by giving teams a consistent way to apply policies, manage access, and monitor environments without switching between tools.
These platforms are especially helpful for organisations whose Kubernetes adoption has outgrown a single cluster and now need predictable governance as their footprint expands.
Here are two leading options teams rely on for unified multi-cluster management:
Portainer: Best for Unified Multi-Cluster Kubernetes Management
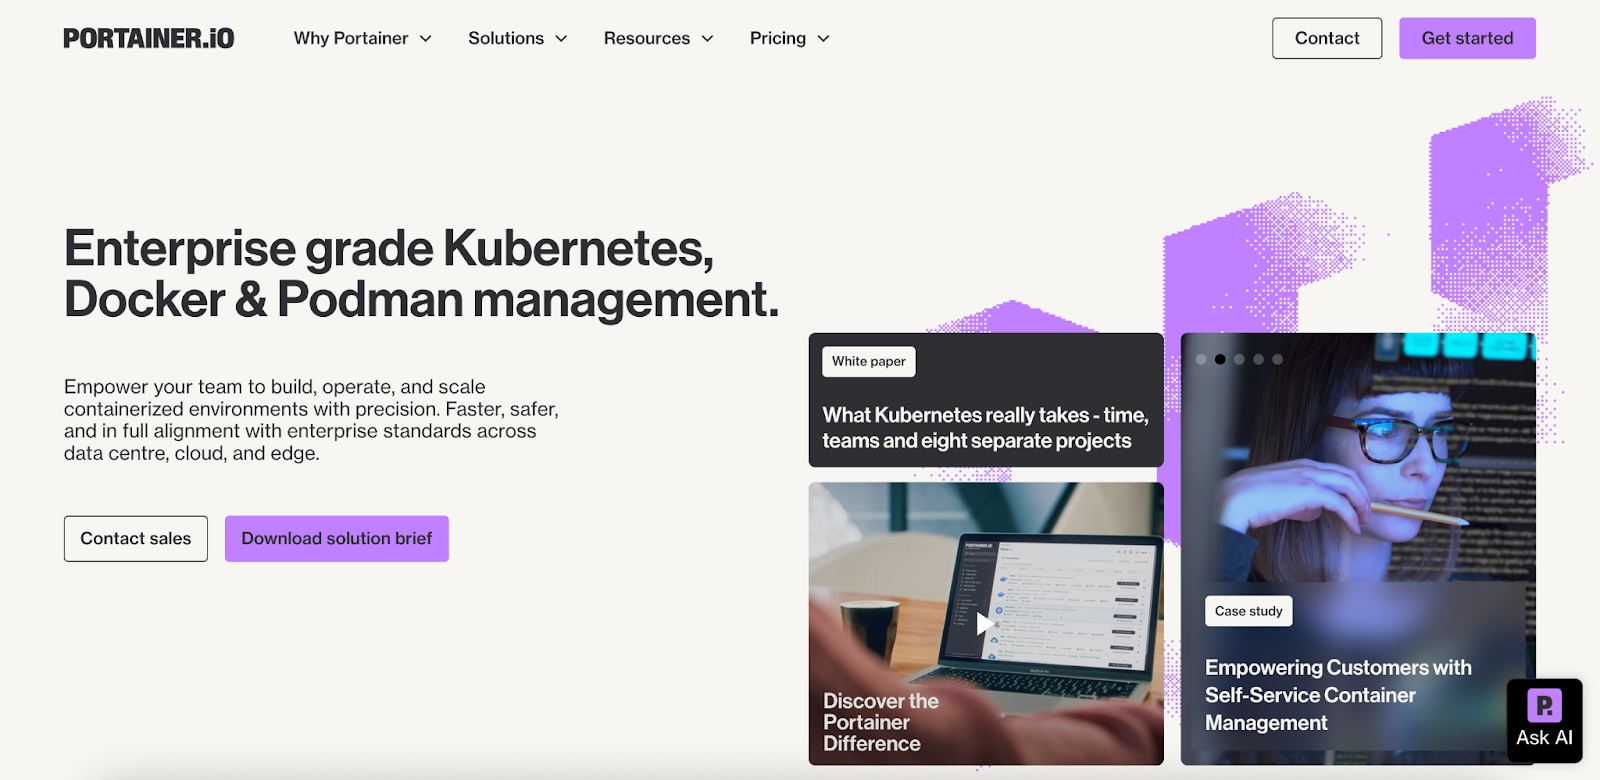
Portainer is a self-hosted Kubernetes management control plane built for teams that want centralised governance without the operational complexity of heavier platforms. It unifies Kubernetes, Docker Swarm, Podman, and edge environments into an easy-to-use interface and is widely recognised as one of the strongest Rancher alternatives.
Key features
- Centralised management for all clusters and container environments
- Built-in GitOps engine for automated, consistent deployments
- RBAC/SSO with fine-grained access controls
- Visual dashboards for workloads, storage, networking, and cluster health
- Edge Agent for managing remote, offline, or low-connectivity environments
- Works alongside existing Kubernetes platforms without requiring a new stack
- Lightweight footprint; lower operational overhead than OpenShift or Rancher
Pricing
- Enterprise IT: from $9,995/year
- Edge / IIoT: from $14,400/year
{{article-cta}}
Rancher: Best for Infrastructure-Level Kubernetes Lifecycle Management
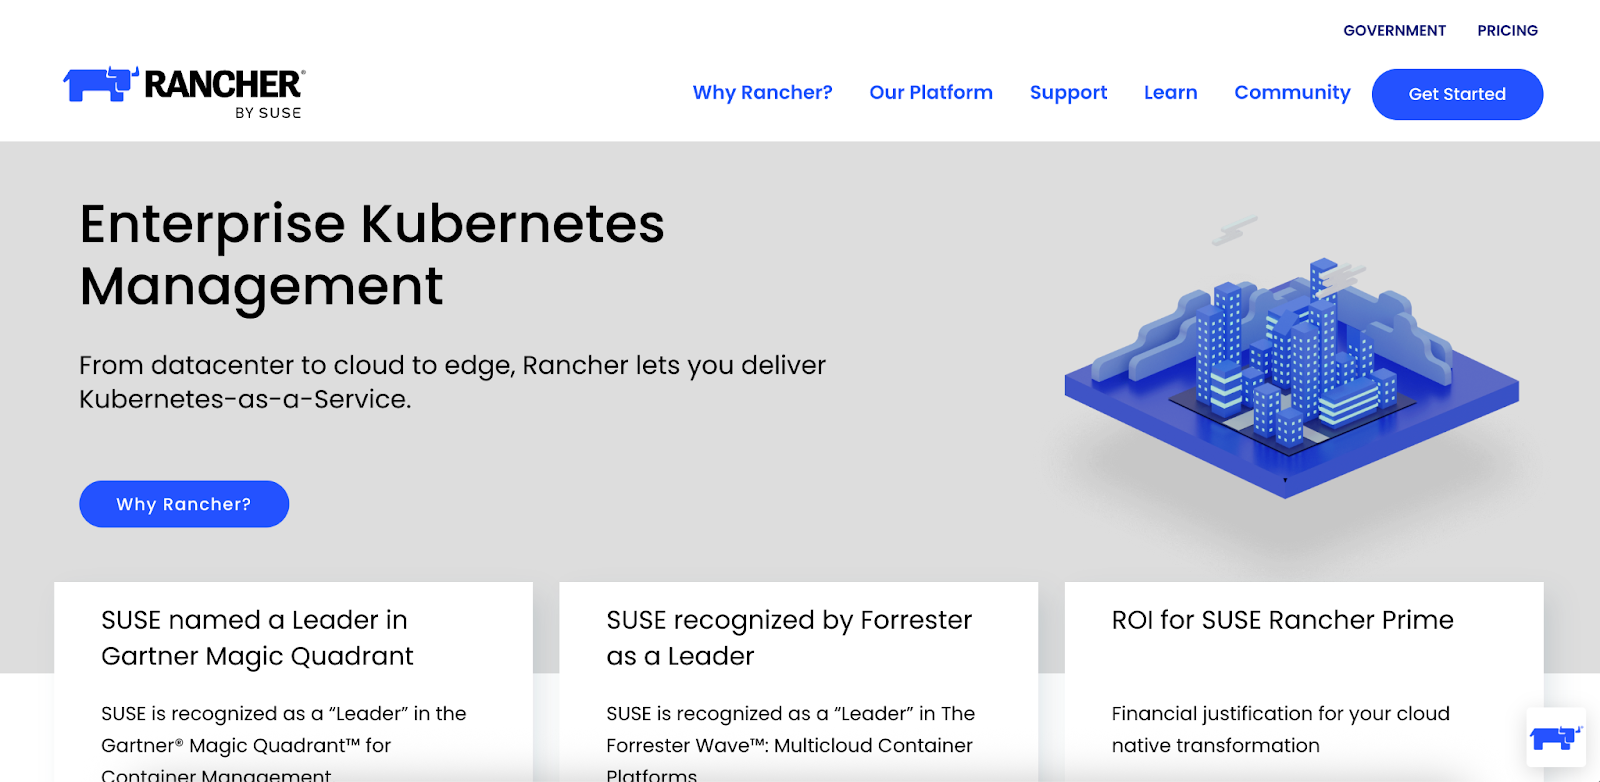
Rancher is an open-source Kubernetes management platform built for teams that need full control over cluster provisioning and infrastructure operations. It’s best suited to organisations that prefer an open-source approach and have the in-house expertise to manage Kubernetes at a deeper level.
Key features
- End-to-end cluster lifecycle management (create, scale, upgrade, retire)
- Supports RKE, K3s, and managed services like EKS, AKS, and GKE
- Centralised authentication (LDAP, AD, SAML, OIDC)
- Multi-tenancy with projects and namespaces
- Helm-based add-ons and custom integrations
- Central place for policy enforcement, monitoring, and logging
Pricing
- $1,200-$5,400/node/year
Open-Source Solutions
Open-source multi-cluster frameworks give organisations a flexible, vendor-neutral way to manage Kubernetes fleets. Here are two widely used options.
Karmada: Best for Kubernetes-Native Multi-Cluster Orchestration
Karmada provides a Kubernetes-native approach to orchestrating workloads across multiple clusters. It’s designed for teams that want to deploy once and run workloads anywhere, without changing their Kubernetes workflows.
Key features
- Kubernetes-native APIs for multi-cluster scheduling
- Automated workload propagation and failover
- Hybrid/multi-cloud support
Open Cluster Management (OCM): Best for Large-Scale Fleet Management
OCM is a CNCF project designed for organisations managing dozens or hundreds of clusters. Its hub-and-spoke architecture makes it easier to register clusters, apply governance, and maintain consistent configuration at scale.
Key features
- Scalable hub-and-spoke architecture
- Centralised policy enforcement and governance
- Add-on framework for extended functionality
GitOps Tools
GitOps tools help teams manage multi-cluster environments using declarative configurations stored in Git. They keep clusters aligned by continuously syncing workloads to the desired state, which is especially useful for organisations standardising deployments across regions or environments.
Here are two widely adopted GitOps tools teams rely on:
Argo CD: Best for Declarative, Visual GitOps Workflows
“Argo CD is a popular, CNCF-graduated GitOps controller, and in a recent CNCF end-user survey, nearly 60% of Kubernetes teams reported using Argo CD as their primary GitOps tool.
It excels at visual workflows and strong multi-cluster deployment capabilities, especially in GitOps-at-the-edge scenarios. This makes it a reliable choice for teams looking to standardise deployments across many environments.”
Key features
- Continuous sync between Git and clusters
- Application-centric deployment model
- Strong multi-cluster and multi-repo support
- Rollbacks, health checks, and drift detection
- Rich UI + CLI for managing deployments
Flux: Best for Lightweight, Modular GitOps Automation
Flux is a lightweight, CNCF GitOps tool built around a modular “GitOps Toolkit.” Its composable design makes it ideal for teams that want fine-grained control or prefer a minimal, Kubernetes-native footprint.
Key features
- Declarative deployments across clusters
- Modular, controller-based architecture
- First-class Helm and Kustomize support
- Policy-driven reconciliation
- Extensible GitOps Toolkit components
Service Mesh Solutions
Service mesh tools handle secure, reliable communication between services and between clusters. They manage traffic routing, encryption, observability, and service-to-service policies, which is especially important when workloads run across regions or multiple Kubernetes clusters.
Here are two of the most commonly used service meshes for multi-cluster environments:
Istio: Best for Feature-Rich, Enterprise-Grade Multi-Cluster Networking
Istio is a CNCF-backed service mesh known for its rich traffic management features, deep security controls, and strong multi-cluster support.
Key features
- Automatic mTLS between services
- Advanced traffic shaping (canary, blue/green, failover)
- Strong multi-cluster routing and discovery
- Deep observability: metrics, tracing, logging
- Works across multiple clouds and regions
Linkerd: Best for Lightweight, Simpler Multi-Cluster Communication
Linkerd is an open-source, CNCF-graduated service mesh designed for teams that want secure multi-cluster communication without heavy resource usage. It prioritises simplicity, performance, and reliability over extensive configuration.
Key features
- Built-in mTLS with minimal overhead
- Multi-cluster setup and service mirroring
- Low latency; minimal resource footprint
- Transparent proxies; no complex configuration
- Strong reliability features despite a small footprint
Getting Started: How to Set Up Your Multi-Cluster Environment
The key to setting up a multi-cluster environment is to follow a clear, repeatable process that keeps governance, networking, and operations consistent from the start.
Step 1: Define your cluster strategy
Decide how many clusters you need, where they’ll run (cloud, on-prem, edge), and how workloads will be split, whether by dev/test/prod, tenants, or specific regulatory zones. Clarify ownership, access rules, and naming standards early so every cluster follows the same structure.
Step 2: Standardize cluster configuration
Create a baseline template for every cluster: versions, add-ons, networking defaults, storage classes, and policies. Using GitOps or IaC ensures every cluster starts from the same foundation and reduces configuration drift.
Step 3: Set up identity and access control
Integrate authentication (SSO, LDAP, OIDC) and define RBAC roles that map to your teams. Apply the same permissions model across all clusters so developers can access what they need without creating security gaps.
Step 4: Configure networking and connectivity
Establish consistent network ranges, DNS patterns, service discovery rules, and cross-cluster communication paths. Decide whether you'll use native Kubernetes networking, a service mesh, or a hybrid approach.
Step 5: Connect clusters to a management layer
Once your clusters follow the same architecture and governance model, plug them into a unified management platform such as Portainer. This will standardise policy enforcement, centralise visibility, and give teams one place to manage deployments and cluster operations without introducing extra operational overhead.
Security Best Practices for Multi-Cluster Deployments
Multi-cluster Kubernetes environments expand flexibility but also widen the attack surface. Keeping each cluster aligned, isolated, and continuously monitored is critical for protecting workloads across regions, clouds, and teams.
Here are five best practices to strengthen your security posture:
1. Enable and enforce built-in Kubernetes security controls
Kubernetes comes with strong security features, many of which aren’t enabled by default. Ensure core controls such as Network Policies, Pod Security Admission, and secure container runtime settings are configured across every cluster. Turning these on early prevents insecure defaults from spreading as your fleet grows.
2. Segment workloads and restrict cross-cluster traffic
Separate environments (dev, test, prod, tenants, or regulatory zones) into their own clusters or namespaces. Combine this with strict network policies that limit east-west traffic. Segmentation reduces the blast radius of failures and blocks unnecessary lateral movement across clusters.
3. Use namespaces and RBAC to isolate sensitive workloads
Namespaces act as isolation boundaries when paired with strong RBAC rules. Place high-risk or sensitive workloads in restrictive namespaces and tightly control who can access them. This limits blast radius, improves separation, and reduces the chance of accidental or malicious changes.
4. Centralise monitoring, auditing, and logging
Multi-cluster setups need unified visibility. Aggregate logs, audits, and alerts into a central system so you can detect anomalies, whether they stem from misconfigurations, suspicious activity, or unexpected workload behaviour. Consistent auditing also helps maintain compliance across clouds and regions.
5. Enforce strict cluster lifecycle hygiene (create, update, retire)
Unused or outdated clusters are a silent security risk. Make sure every cluster has a clear owner, a defined update schedule, and a retirement process. Decommissioning old clusters, removing abandoned namespaces, and regularly rotating credentials prevent stale environments from becoming vulnerable entry points.
Make Kubernetes Management Easier With Portainer
Multi-cluster Kubernetes only works well if your governance, visibility, and operations stay consistent as you scale. That’s where the right control plane makes the difference; not by adding more complexity, but by giving teams a reliable way to run everything from one place.
Portainer is an enterprise-grade control plane that brings all your Kubernetes, edge, and container environments into a single, consistent interface. It gives platform and DevOps teams the visibility, control, and governance they need to run multi-cluster environments with confidence and far less operational friction.
Want to see how Portainer fits into your workflow? Book a demo to explore why teams across industries use Portainer to standardise and streamline their Kubernetes operations.
{{article-cta}}
FAQs
1. How do people deal with configuration drift across multiple Kubernetes clusters?
Configuration drift shows up when clusters are updated at different times or by different teams, and small mismatches compound into unpredictable behavior at scale. Teams handle it by defining a baseline template for every cluster, managing that baseline through GitOps or infrastructure-as-code, and centralizing enforcement through a management layer. Portainer applies policies, RBAC, and GitOps workflows consistently across every connected cluster, so drift is caught and corrected instead of accumulating unnoticed.
2. How do teams handle user access and authentication across multiple Kubernetes clusters without it becoming a nightmare?
Teams centralize identity through SSO, LDAP, or OIDC, then map corporate groups to Kubernetes teams so users inherit their access automatically wherever they log in. RBAC roles are defined once and applied across every cluster instead of being reconfigured per cluster. Portainer sits between users and clusters, handling authentication centrally so users never touch cluster credentials directly, and orchestrates Kubernetes RBAC through pre-defined roles that scope permissions to specific clusters, namespaces, or teams.
3. Argo CD vs Flux, which is better for multi-cluster deployments?
It depends on how your team prefers to work. Argo CD offers a full visual UI, application-centric deployment model, and strong multi-cluster capabilities, making it the common choice for teams that want centralized visibility across many environments. Flux takes a lightweight, modular, controller-based approach that suits teams comfortable with CLI workflows. Portainer’s built-in GitOps engine handles the same core reconciliation without requiring either as a dependency.
4. How do people manage Helm charts across multiple clusters and environments without things getting out of hand?
Store the charts and their environment-specific values files in Git, then let a GitOps tool like ArgoCD or Flux reconcile them into each cluster from that single source. Values files handle environment-specific overrides (dev, staging, production) without duplicating the chart itself. A management layer on top gives you visibility into which chart version is running where and enforces access control on who can install or upgrade. Portainer manages Helm charts directly through its UI, connects to public and private chart repositories, and applies the same governance model across every cluster.
5. Do I need GitOps from the start for multi-cluster Kubernetes, or is it something I add later?
From the start, if you’re running more than a couple of clusters. Multi-cluster environments accumulate configuration drift and deployment inconsistency faster than single-cluster setups, and adding GitOps once those problems have compounded takes more effort than building it in early. Portainer’s built-in GitOps engine handles version-controlled configuration, predictable rollouts, and clean rollbacks without the setup burden of running Argo CD or Flux separately.