

Share this post
So, you are running Docker Desktop on your Windows PC, and you would like to have a rich, "follow your nose" UI to help you deploy, manage and monitor your applications for both your docker-ce instance AND the Docker Desktop deployed Kubernetes instance?
Docker Desktop includes a simplistic UI for managing the deployment of containers on their docker engine (their UI doesnt really help beyond the most basic of features), but does not provide any UI elements to assist with deploying to Kubernetes. Luckly, here at Portainer we have you covered for both.
So, lets get started...
We will assume for the sake of this blog that you have just installed Docker Desktop, and have not yet made any configuration changes to enable Kubernetes.
Lets guide you through configuring Kubernetes, deploying Portainer in the docker instance, and then attaching the Kubernetes cluster to Portainer.
Step 1. Open Docker Desktop, check your deployment is using WSL2
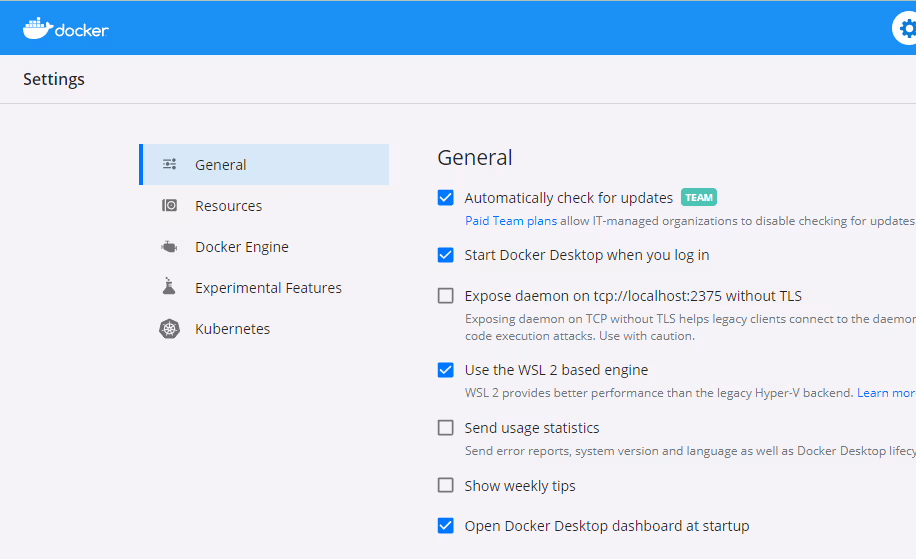
Note that at this stage, your Docker Desktop environment is likely only using a small amount of system ram, in my case 2GB, but thats about to change! (and no, thats not a dig at Docker Desktop, its a statement around the system impact of Kubernetes in general).

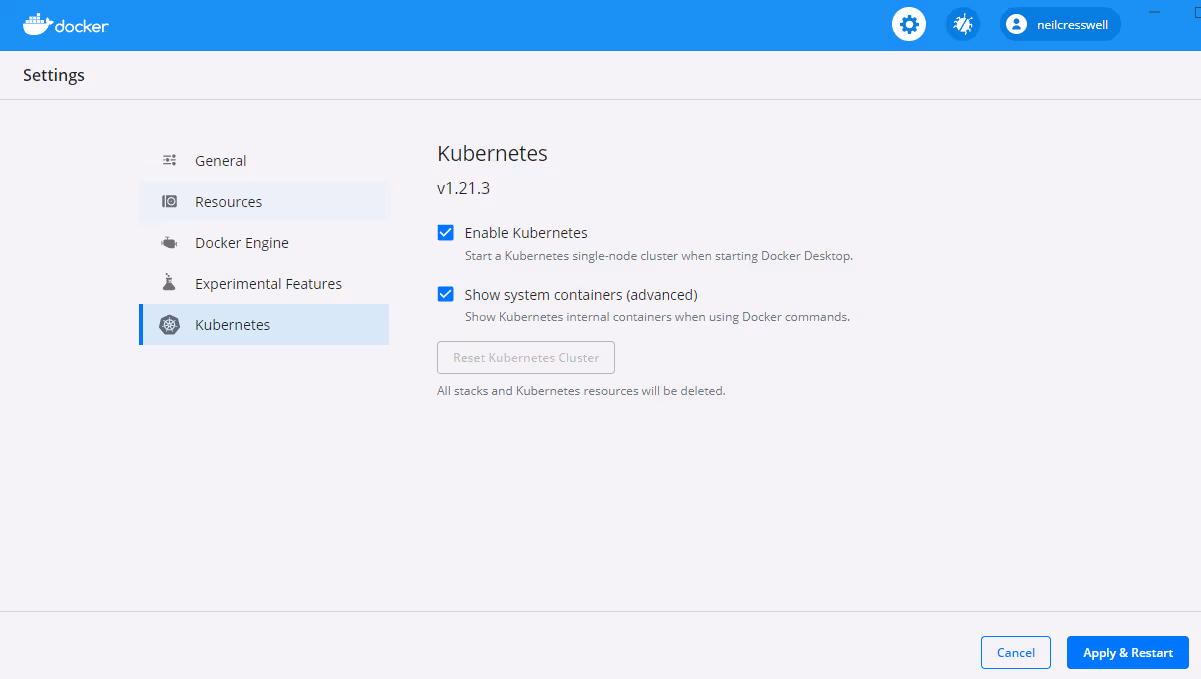
Step 2, Click on Kubernetes, tick the box "Enable Kubernetes", and then "Apply and Restart"
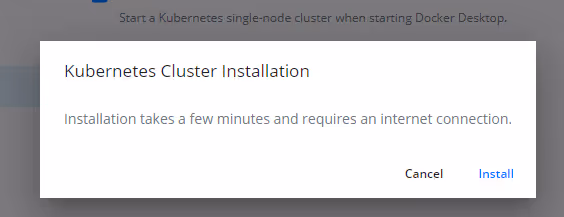
Step 3, Click "Install" on the confirmation box, and then wait... a while, in fact, go make a coffee.
Once you see the Green Kubernetes logo in the bottom left, you are good to go.
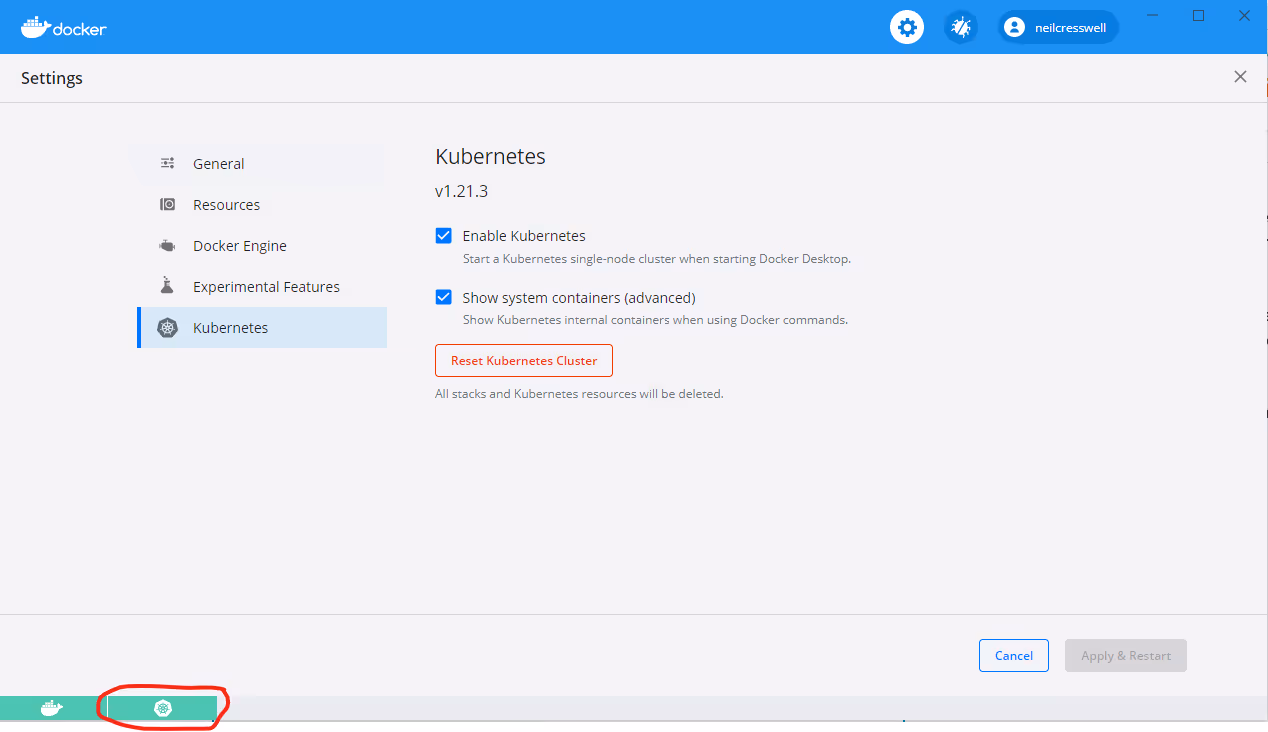
You can close the Docker Desktop UI now, you wont need this again! If you’re also evaluating Docker desktop alternatives, we broke down the best options for 2026.
A quick check on system resources, and you can now see that Docker Desktop is using 4GB of RAM, with the extra 2GB being required to "idle" Kubernetes.

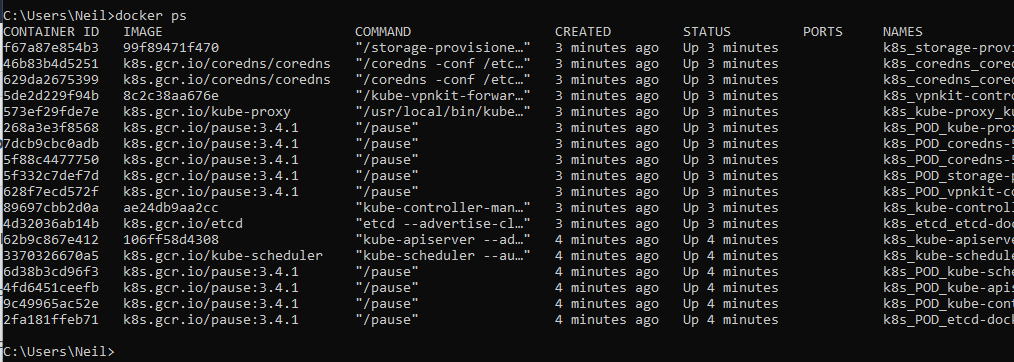
Step 4, Open a command window, and type "docker ps", you can see all of the Kubernetes components that Docker Desktop deployed for you; this is Kubernetes in Docker.
Step 5, Now lets get you up and running with Portainer.
Run the following commands:
docker volume create portainer_data
docker run -d -p 8000:8000 -p 9000:9000 --name=portainer --restart=always -v /var/run/docker.sock:/var/run/docker.sock -v portainer_data:/data portainer/portainer-ce
kubectl apply -n portainer -f https://downloads.portainer.io/portainer-agent-k8s-nodeport.yaml
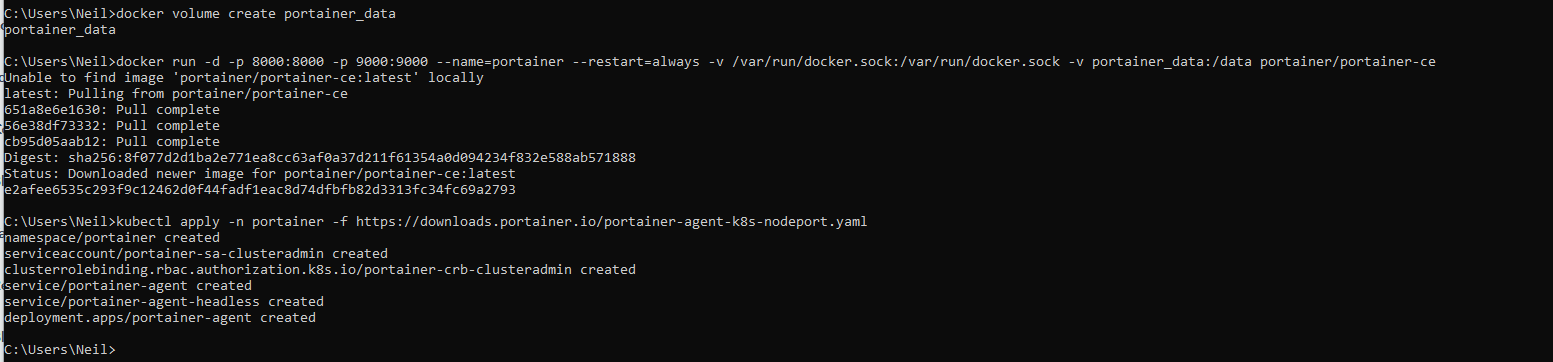
This will get you up and running with Portainer (in Docker) and also deploy the Portainer agent inside Kubernetes.
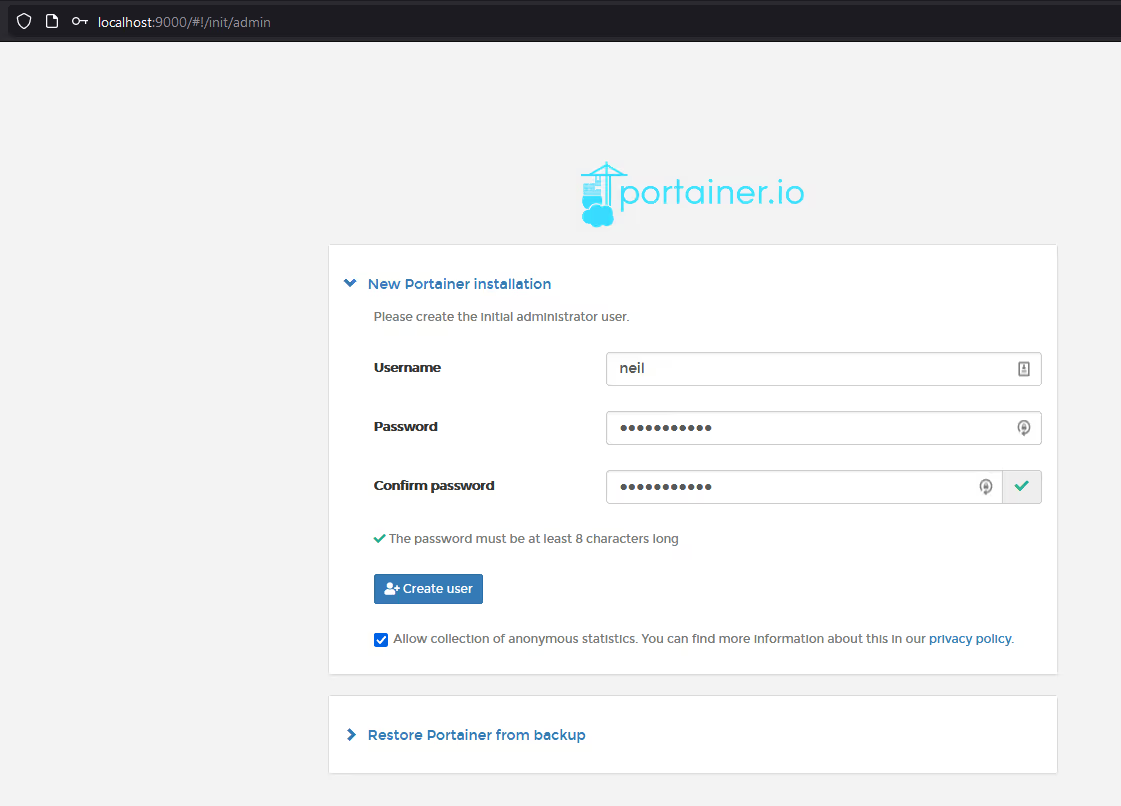
Step 6, Now, go to your browser, and type localhost:9000
Step 7, Create yourself an initial user account, in my case, i used my name, and set my preferred password, then click "create user"
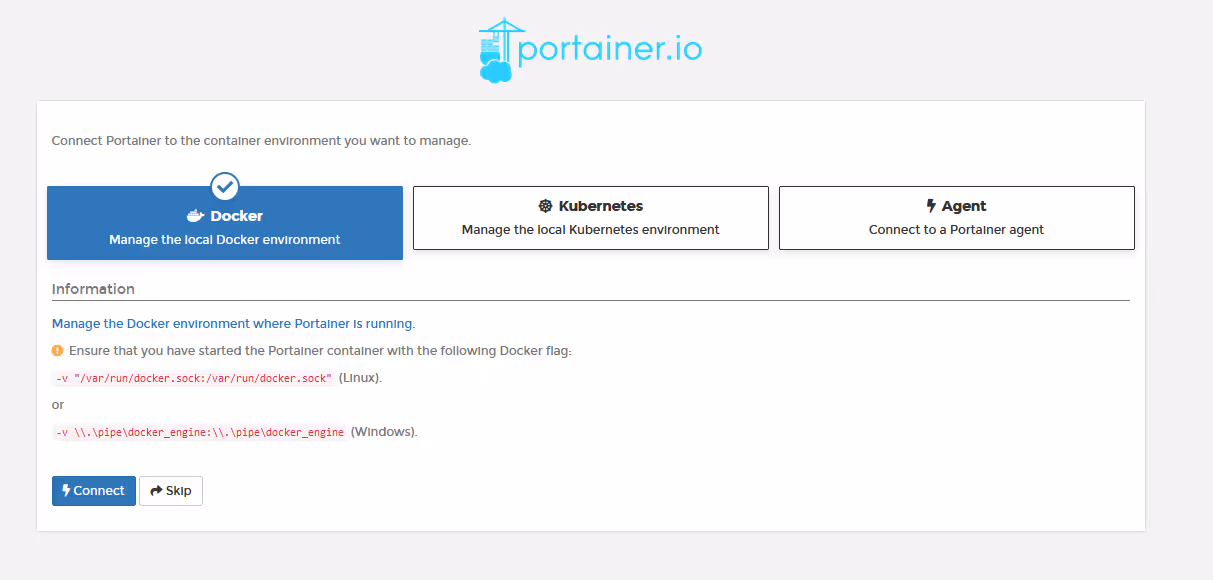
Choose to connect to Docker endpoint (we will add Kubernetes later), then click "Connect"
You are now up and running with the Portainer UI managing your local Docker instance.
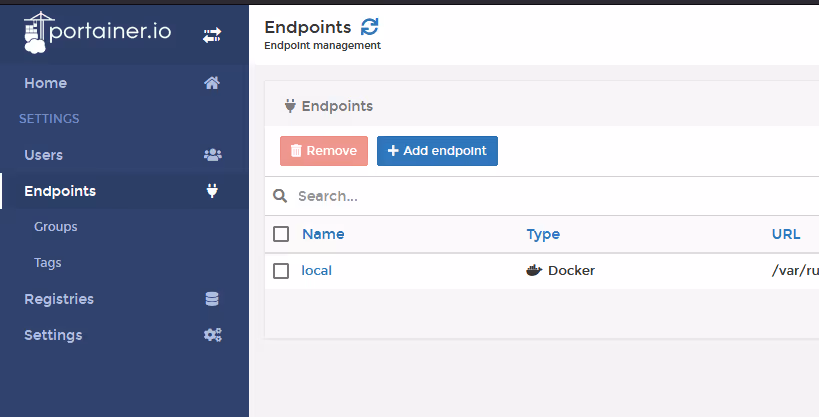
Step 8, OK, so now lets add the local Kubernetes environment.
Click on Endpoints, then "add endpoint"
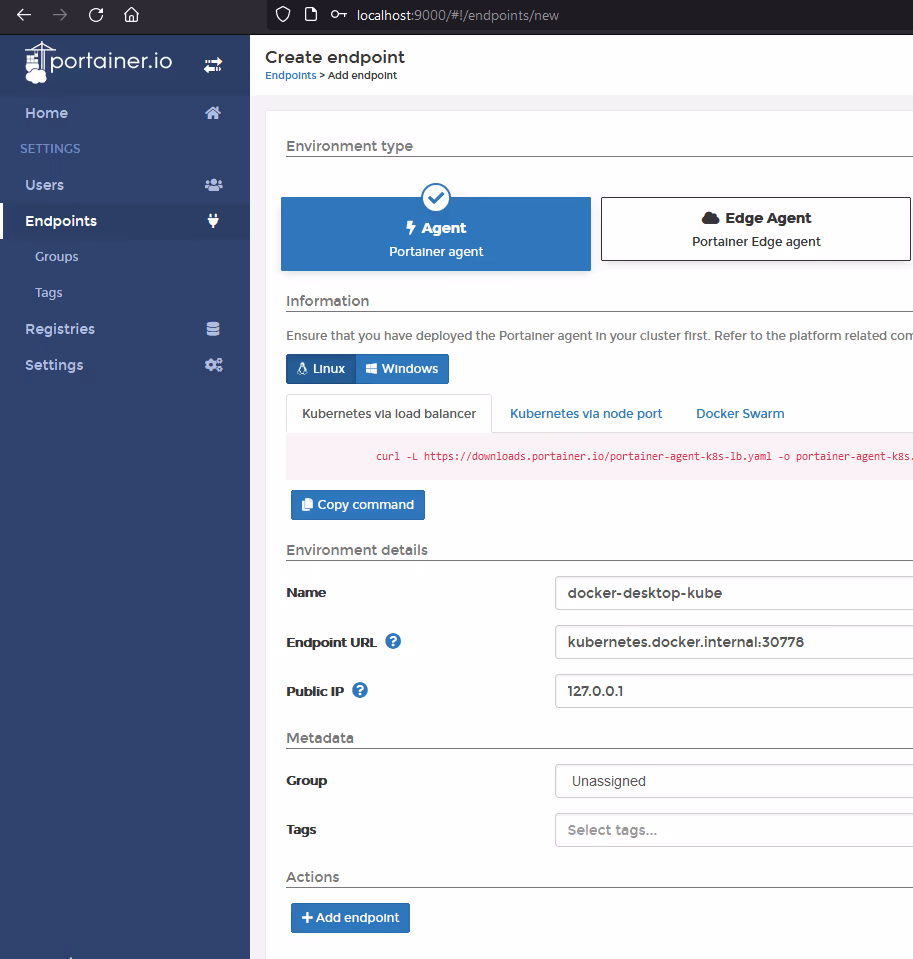
Select "Agent" and then give your endpoint a name, "docker-desktop-kube" made sense to me, for the endpoint URL, enter kubernetes.docker.internal:30778 and for public IP, enter 127.0.0.1, then click "Add Endpoint"
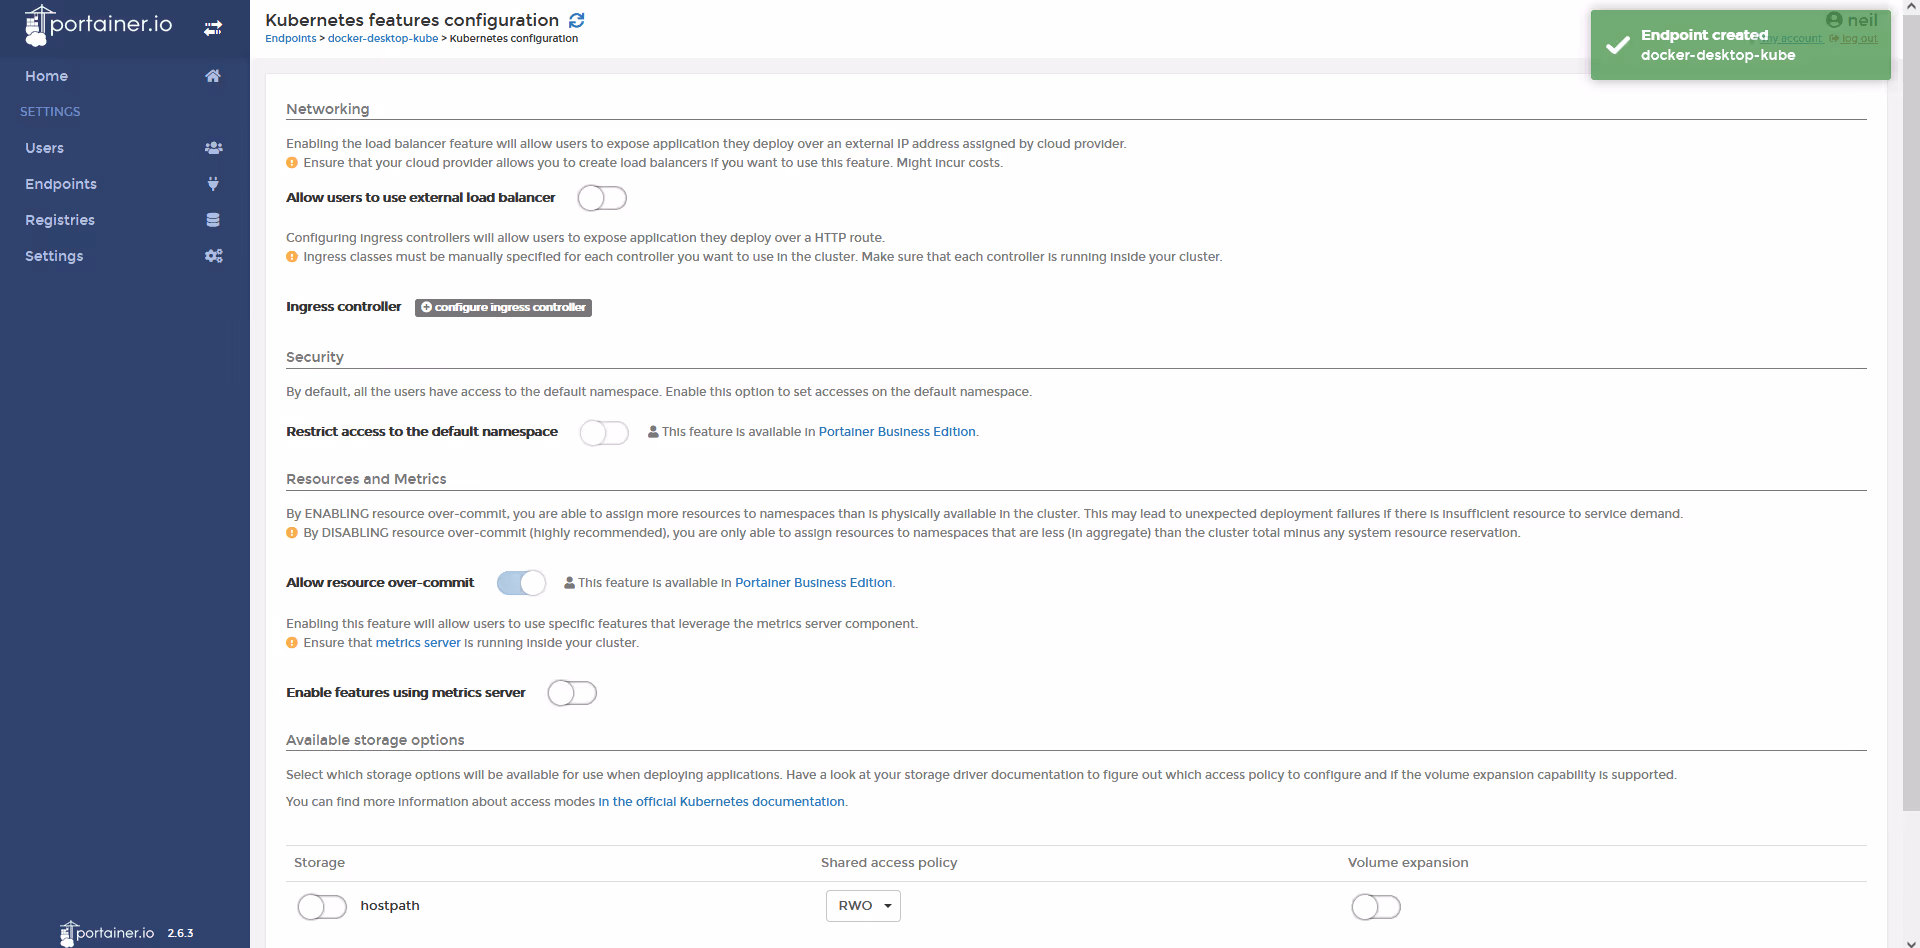
You are now prompted to configure the cluster settings, which is where you define what you want to make available for use in the UI. We recommend enabling the "hostpath" storage option (for persistence), but leave everything else DEFAULT for now (as Docker Destop Kubernetes does not come with metrics server, a load balancer, or an ingress deployed) Click "Save Settings"
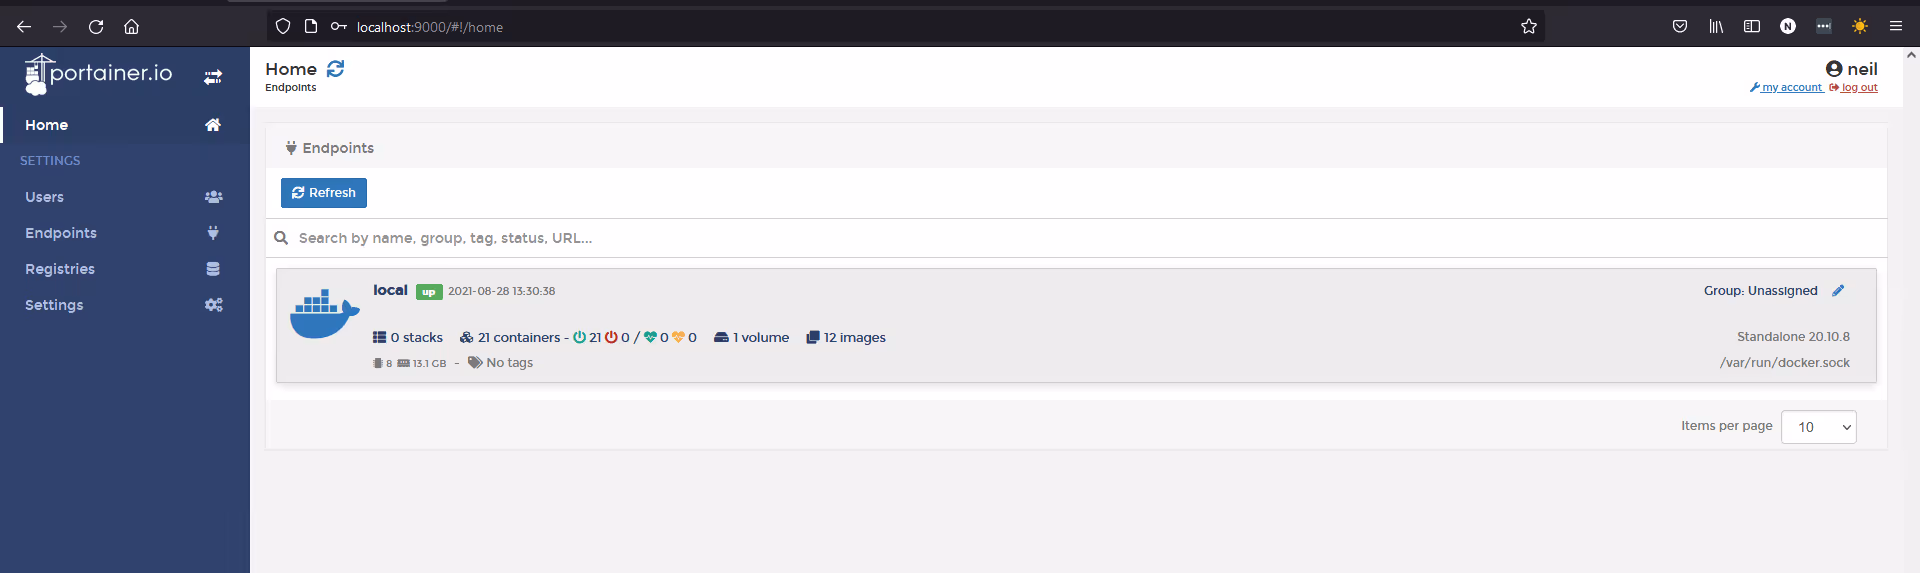
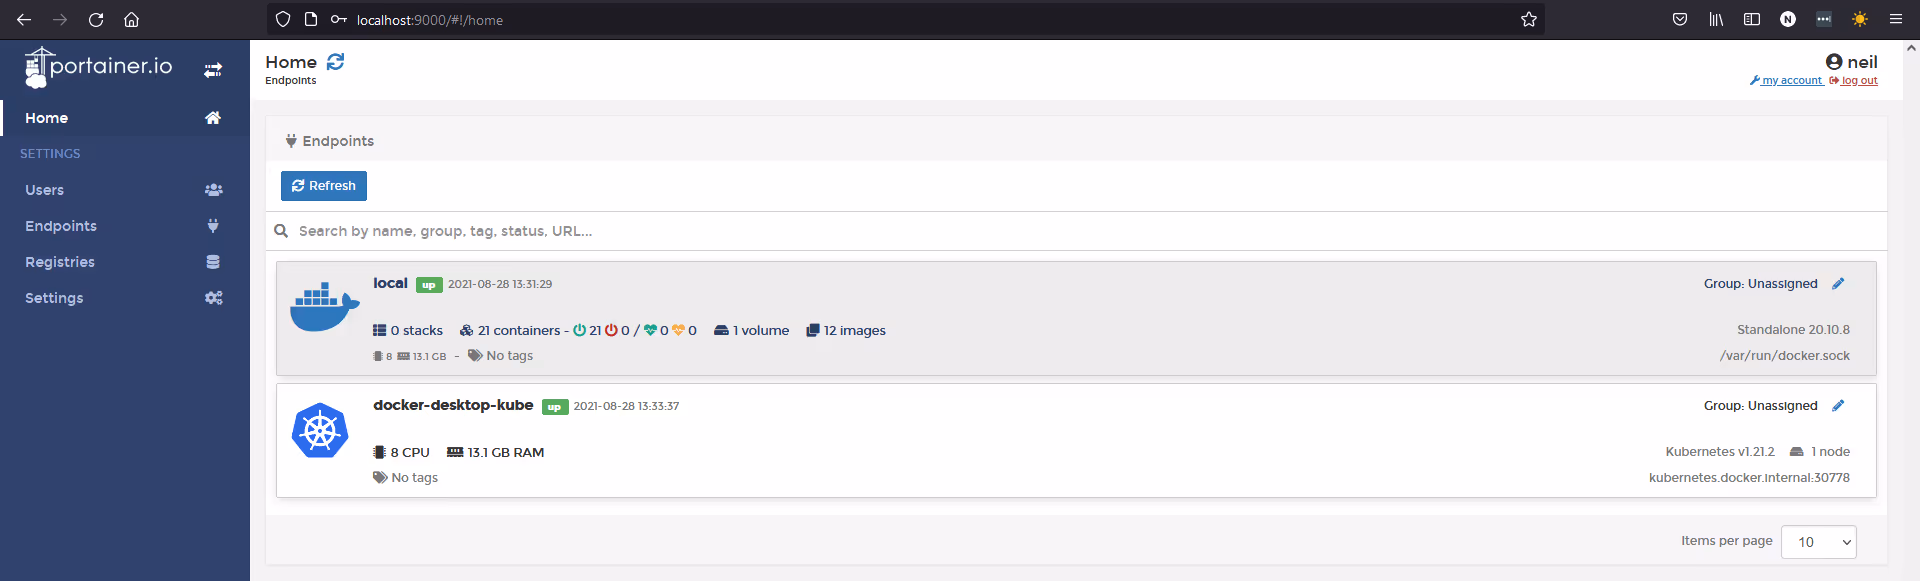
You are now redirected to the "home" page, and you can see your two endpoints.
Step 9, I recommend renaming "local" to docker-desktop-docker, so to do that, click on endpoints, click on "local" change the name, and then click "update endpoint"
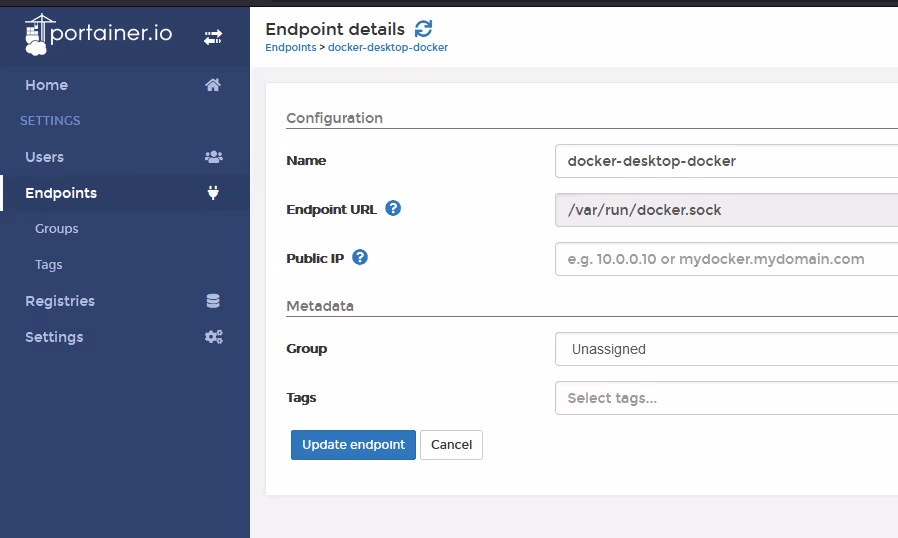
That looks better (at least for OCD me)
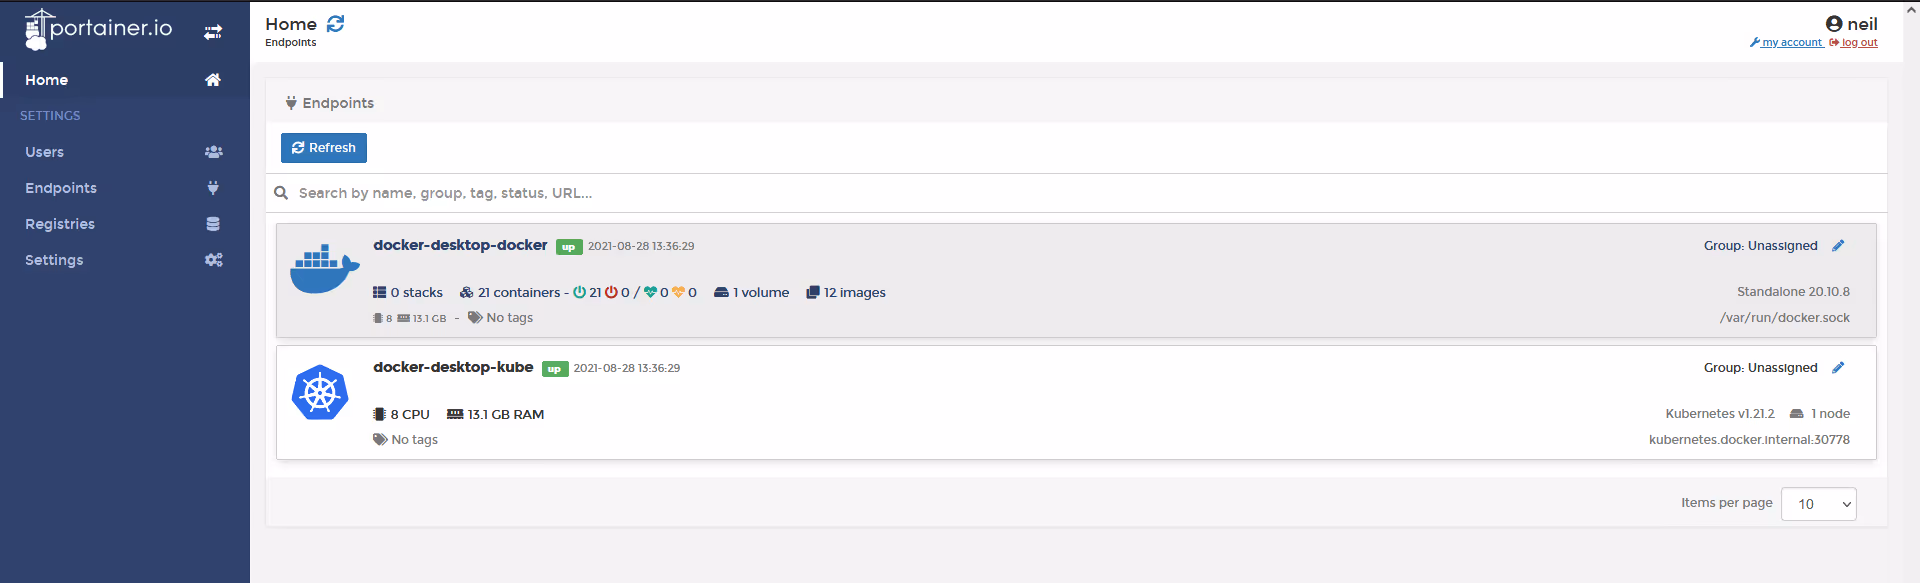
You have now successfully deployed Portainer on your local machine, and configured it so you can manage both the Docker and Kubernetes instances running. Simply click on either of the endpoints to start using them.

.png)
.png)