
If you manage multiple Docker environments with Portainer and want to use the Docker CLI on your laptop to interact directly with those remote environments, you can do this using the Portainer Authenticator tool.
This guide walks through the full process.
What This Guide Covers
You will:
- Generate Docker authentication headers using the Portainer Authenticator
- Configure your local Docker CLI
- Create Docker contexts for remote Portainer-managed environments
- Use the Docker CLI securely through Portainer
Prerequisites
Before you begin, ensure:
- Portainer is running and managing one or more Docker environments
- Portainer is configured with a trusted SSL certificate (not self-signed)
- You have a copy of the CA public certificate used by Portainer
- Docker CLI is installed on your local machine
Important
This will not work with the default self-signed certificate generated by Portainer.
The Docker TLS connection requires a valid CA certificate. You must:
- Use a trusted SSL certificate
- Have access to the CA public certificate
Step 1: Prepare Your Local Docker Configuration
On your local machine:
Open a terminal (Linux, macOS, or WSL).
Navigate to your Docker config directory:
cd ~/.docker
If the directory does not exist, create it:
mkdir -p ~/.docker
cd ~/.docker
Check for an existing config.json file.
If it does not exist, create a blank one:
echo '{}' > config.json
You should now have:
~/.docker/config.json
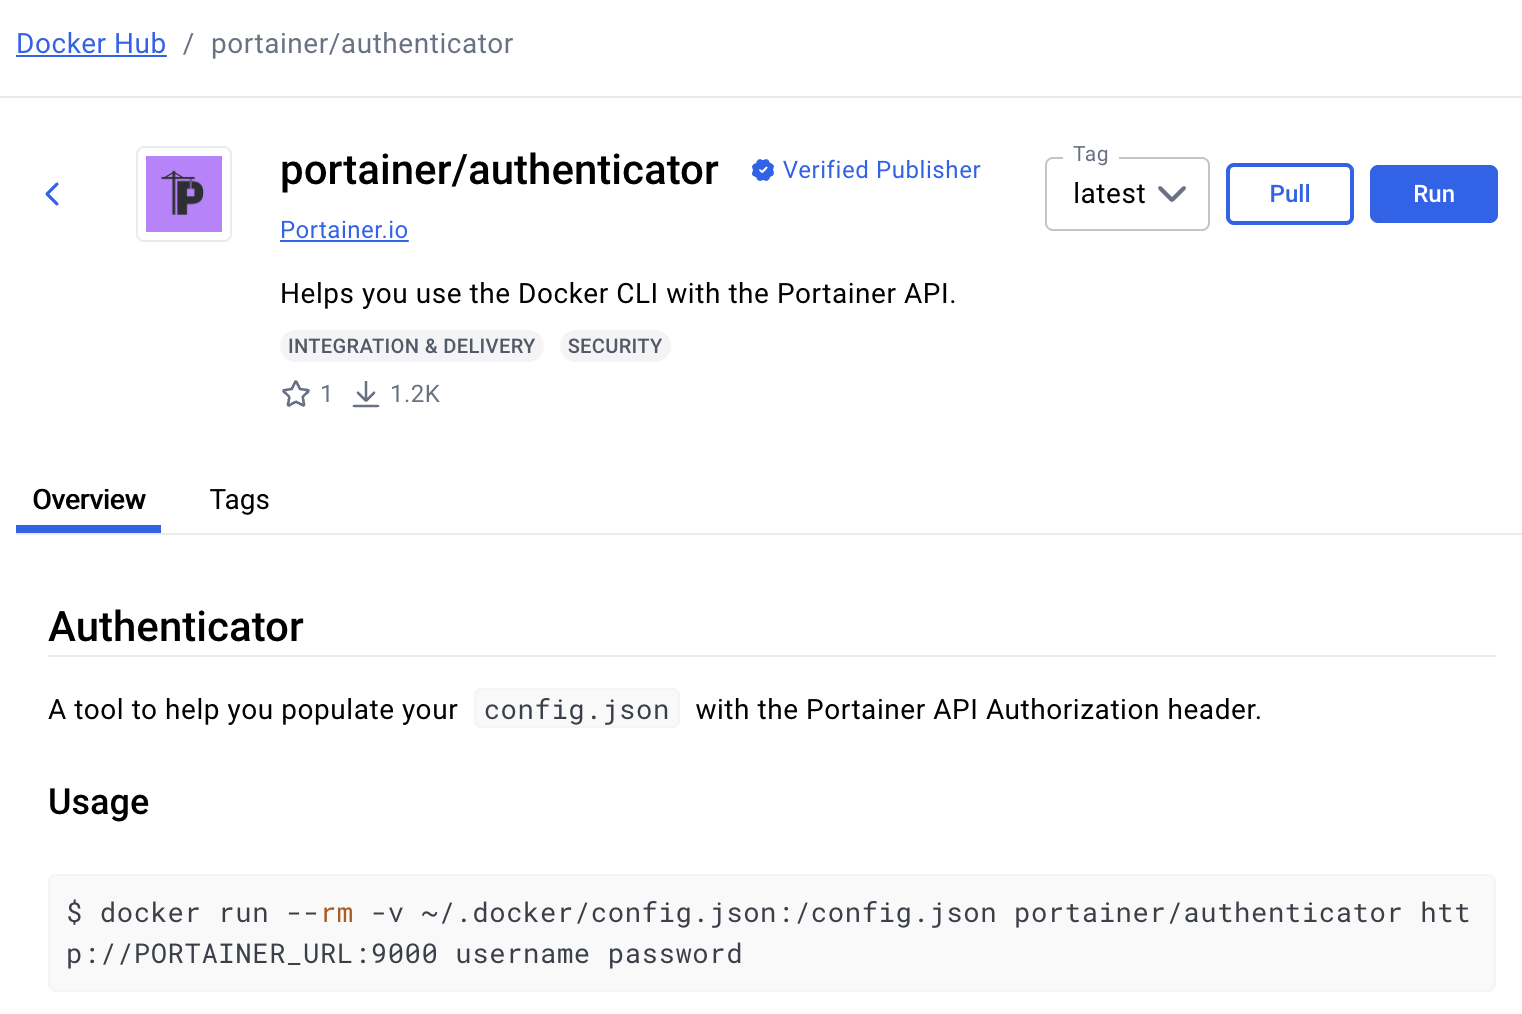
Step 2: Run the Portainer Authenticator
The Portainer Authenticator is a one-time container that updates your config.json with the required authorization headers.
Run:
docker run --rm -v ~/.docker/config.json:/config.json \
  portainer/authenticator \
  <PORTAINER_URL>:9443 username password
Replace:
<PORTAINER_URL>with your Portainer FQDNusernamewith your Portainer usernamepasswordwith your Portainer password
After it runs, inspect the file:
cat ~/.docker/config.json
You should now see a bearer token added to the configuration.
Step 3: Configure Docker to Use the Config File
Set the DOCKER_CONFIG environment variable:
echo export DOCKER_CONFIG=$HOME/.docker >> ~/.profile
source ~/.profile
This ensures the Docker CLI uses your updated configuration.
Step 4: Identify the Endpoint ID
Each Docker environment in Portainer has an endpoint ID.
To find it:
- Log into Portainer
- Select the environment you want to manage
- Look at the URL in your browser
- Note the endpoint number in the address bar
Example:
https://portainer.example.com/#/endpoints/2
The endpoint ID is:
2
Record the IDs for each environment you want to access.
Step 5: Copy the CA Certificate
Place your Portainer CA certificate in:
~/.docker/ca.pem
Ensure the filename matches exactly.
Step 6: Create a Docker Context
Now create a Docker context that points to the remote environment through Portainer.
docker context create portainer \
  --description "Friendly Name" \
  --docker "host=tcp://<PORTAINER_URL>:9443/api/endpoints/<ENDPOINT_ID>/docker,ca=./ca.pem"
Replace:
<PORTAINER_URL>with your Portainer URL<ENDPOINT_ID>with the environment ID"Friendly Name"with something meaningful
Repeat this step for each environment you want to manage, using different context names.
Step 7: Switch Between Contexts
List contexts:
docker context ls
Switch to a context:
docker context use portainer
Once selected, Docker CLI commands will execute against the remote environment via Portainer.
Portainer acts as an authenticated, RBAC-secured API proxy.
Result
You can now:
- Use your local Docker CLI
- Authenticate through Portainer
- Manage remote Docker environments securely
- Maintain RBAC enforcement through Portainer
This approach allows centralized access control while still enabling direct CLI-based workflows.
Supported and Unsupported Commands
Because Portainer proxies the Docker API, some commands are not supported.
Commands That Do Not Work
docker rundocker logs -fdocker execdocker attachdocker stats
Commands That Work
docker stop/docker startdocker rm- All
docker imagecommands - All
docker networkcommands - All
docker volumecommands docker logs(without-f)- All
docker nodecommands docker ps- All
docker servicecommands - All
docker stackcommands docker cpdocker pull,docker push,docker tag
Try Portainer with 3 Nodes Free
If you're ready to get started with Portainer Business, 3 nodes free is a great place to begin. If you'd prefer to get in touch with us, we'd love to hear from you!


